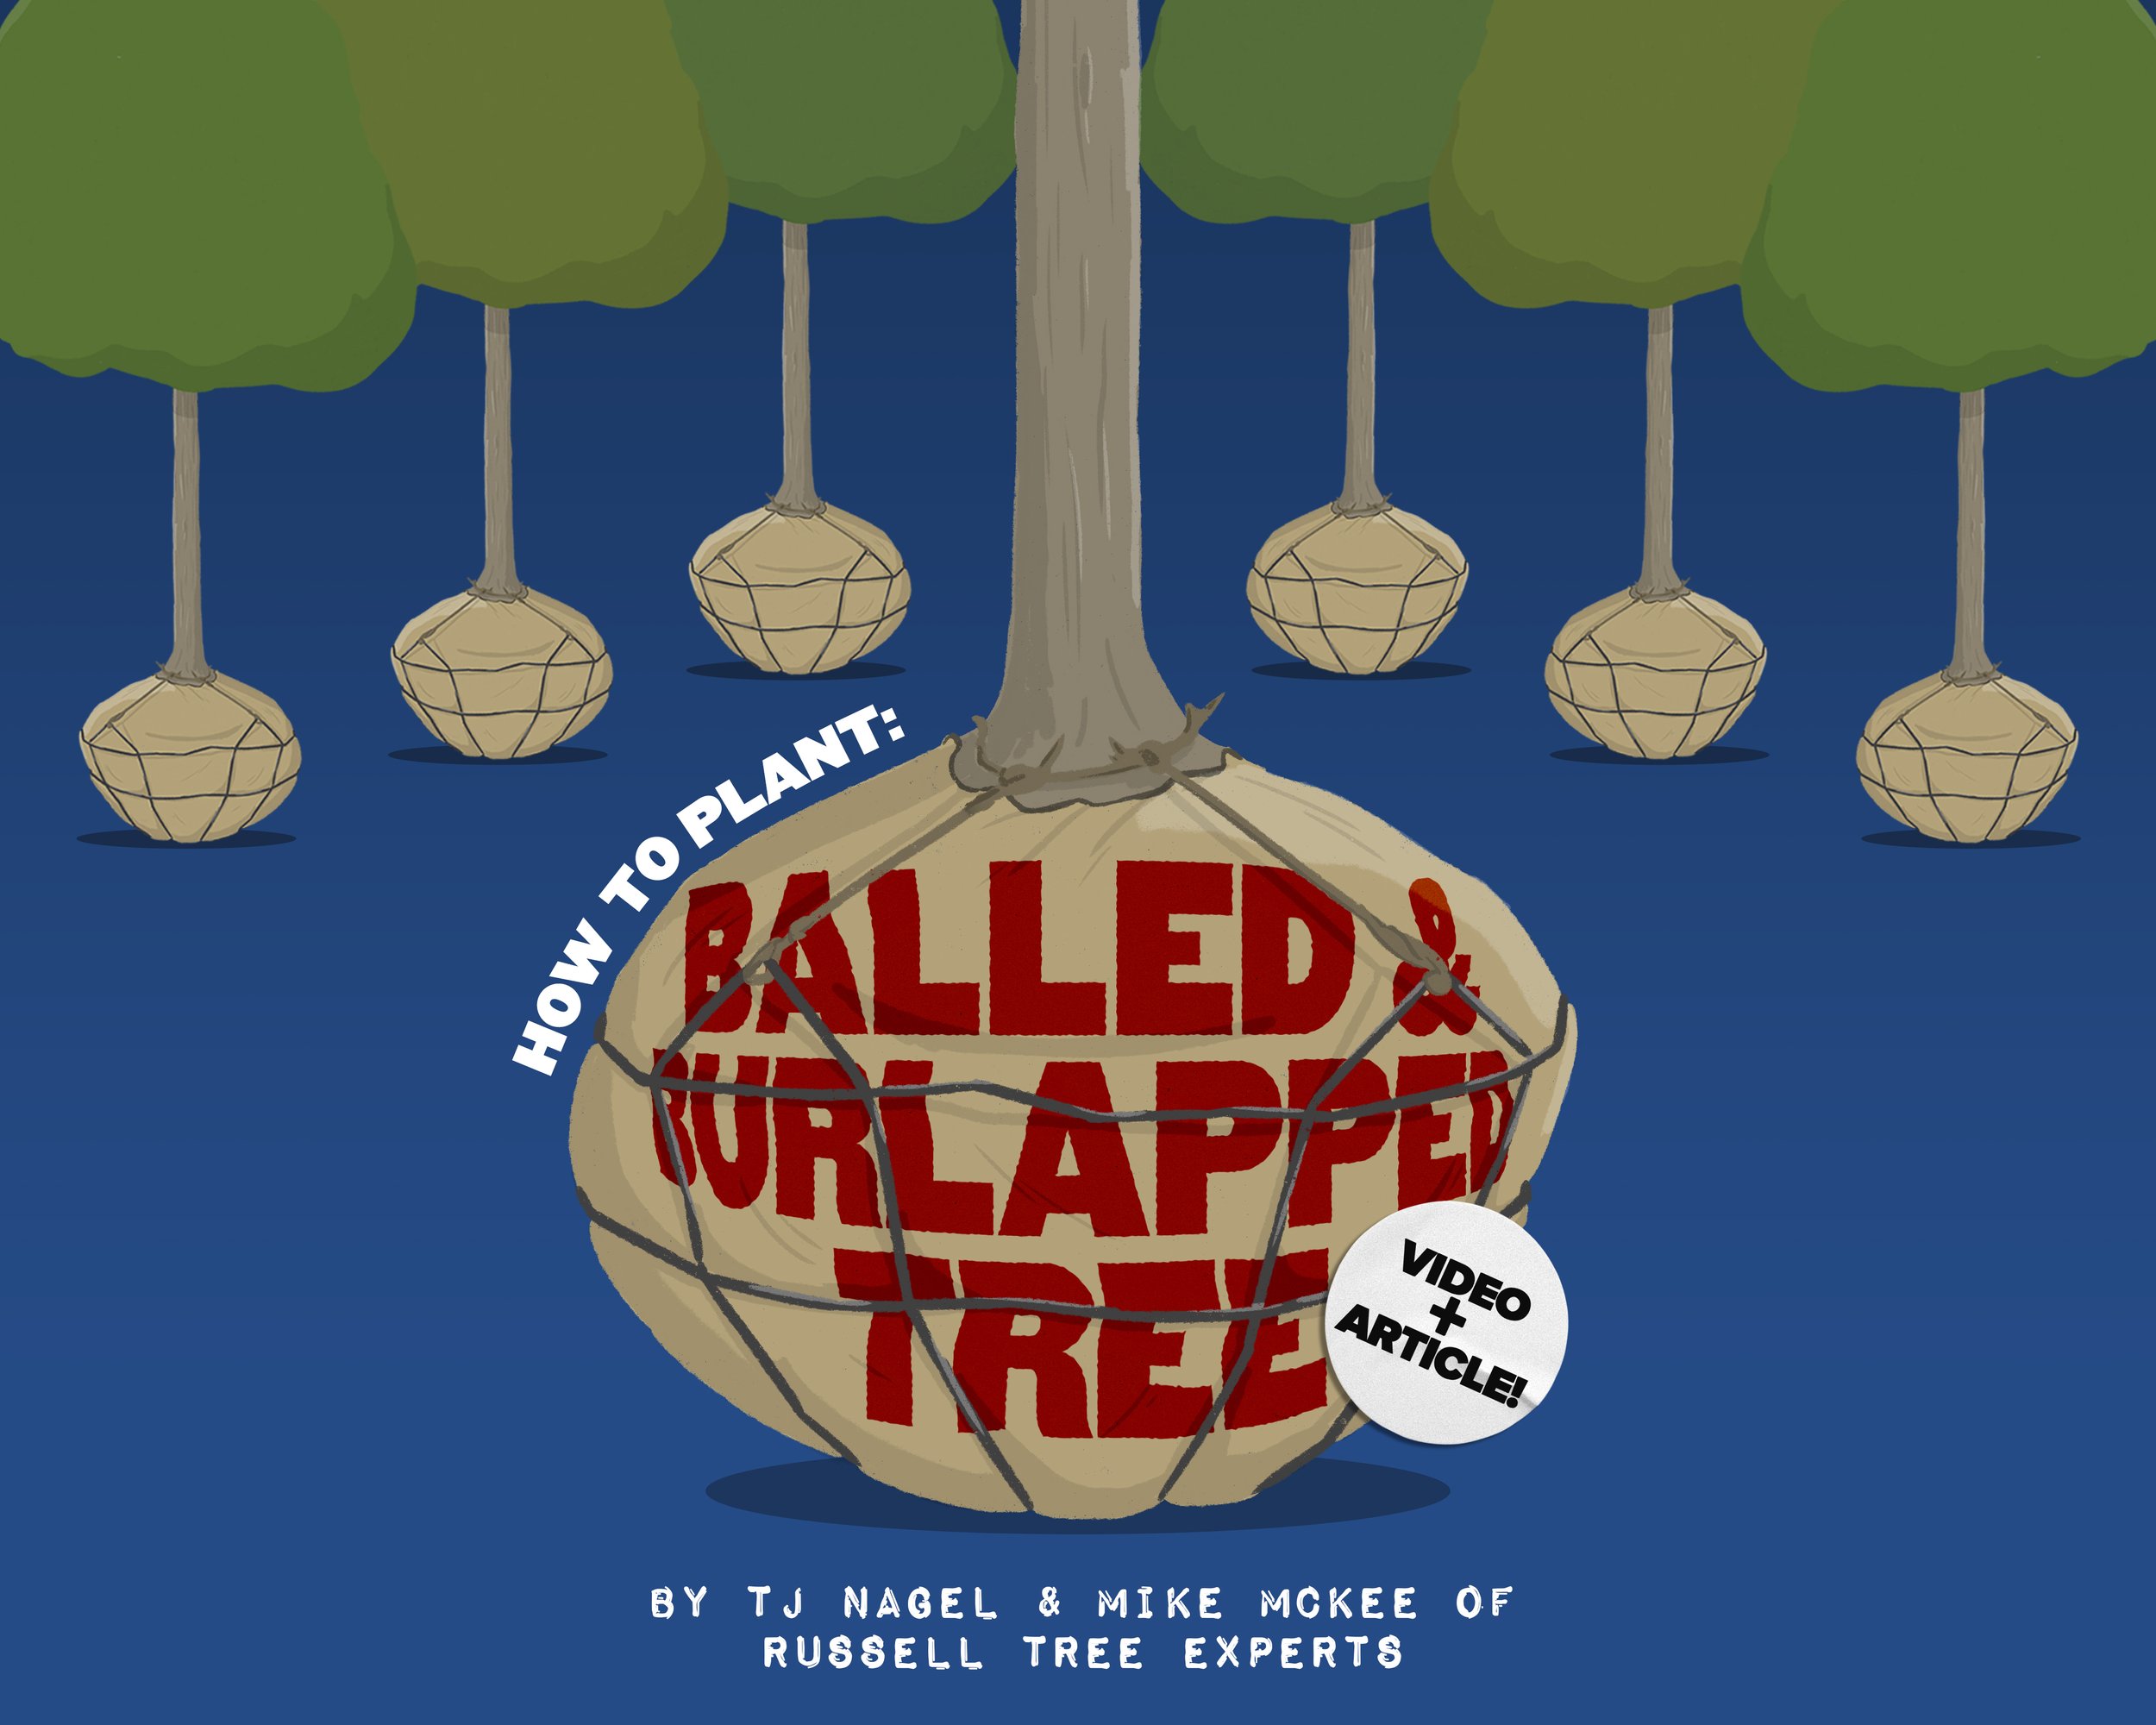
How to Plant a Balled-and-Burlapped Tree!
Dear Reader,

TJ Nagel and Mike McKee standing in front of a newly planted ginkgo tree.
My friend and colleague Mike McKee (an ISA certified arborist at Russell Tree Experts) and I were discussing recently how rarely we see a properly planted landscape tree. Every day we are out and about talking with folks who have stressed trees that are planted too deep, or that are being girdled by landscape materials or trees that are simply planted in the wrong location. Much of the tree preservation and tree removal work that we perform is a result of trees that were improperly planted.
Russell Tree Experts does not offer tree planting services but Mike and I decided it would be valuable to write this article and make a how-to video on what we believe is the best way to plant a balled-and-burlapped tree (although much of the video can apply to trees growing in containers as well). The goal of this article and video is to empower everyone to be able to plant a tree correctly and to be able to recognize what a properly planted tree is supposed to look like.
The following is a checklist of essential steps that should be followed when installing (or having installed by a contractor) a new balled-and-burlapped tree.
1. Plant the Right Tree
There is a tree out there for every landscape situation. It is important that you choose wisely when you are selecting a tree for your situation. If planting in a low site that regularly experiences flooding or standing water you might consider a bald cypress, willow or sycamore, something that is water loving/tolerant. If planting in an excessively dry area you may consider a ginkgo or some type of elm. If you are planting under overhead utilities, planting a smaller statured tree such as a redbud, will likely help to avoid conflict between the lines and tree in the future. Planting the right tree in the right location is the most important step. You may follow the rest of this checklist flawlessly but if you select the wrong tree, it was all in vain. If you are uncertain of what the right tree is for your situation, it’s worth hiring an arborist for a consultation and I know a few good ones.
2. Plant at the Right Time
Fall is for planting. Early Spring is pretty good too. Planting a new tree during either of these times while the tree is in or approaching a dormant state will improve survivability by avoiding a lot of the initial stresses trees experience during the growing season like heat and drought.
3. Tree Pruning
If a tree could only be pruned once in its life, pruning at planting is the time to do so. The overall goal of pruning at planting is to improve the structure of the canopy, to remove crossing and broken limbs, or to reduce/remove upright limbs that might be competing to be the central dominant leader. Note: It is equally important not to over prune a newly planted tree, as having the appropriate amount of leaf area in the canopy next season is essential to maintaining good health and vigor.
4. Locate the Tree’s Trunk Flare/Buttress Roots
The trunk flare will be found low on the main stem and should be the portion of the tree that gets wider just before ground level. Locating the trunk flare is essential for determining the depth of the hole you are about to dig for the tree.
5. Begin Digging!
Dig a hole that is 1.5 - 2 times the diameter of your root ball to allow loose soil to be backfilled around the rootball, which will be easy for new roots to penetrate. Do not dig the hole any deeper than the distance between the bottom of the root ball and the trunk flare. It is important that the trunk flare is at or slightly above grade once it has been placed in the planting hole. If the trunk flare is below grade, the tree will be planted too deep and will be more prone to stem girdling roots, reduced vigor, and will become more vulnerable to pests and disease. Important Note: Many balled-and-burlapped trees are already too deep within their own root ball. Do not assume that the top of the root ball is the trunk flare. My experience is that more often than not, I have to remove a few inches of soil from above the trunk flare at the time of planting. This can be seen in the video as well. Linked down below is my fellow coworker Chris Gill’s Arbor Ed article on stem girdling roots.
6. Stabilize the root balL
Stabilize the root ball in the hole. After the tree is standing upright in the hole, verify that it is positioned correctly (centered and upright) and add soil around the bottom six to eight inches of the root ball. Tamp the newly added soil to stabilize the root ball and tree while adjustments to the root ball are made.
7. Remove the twine, Top 1/3 of Burlap, and Top 1/3 of Wire Cage
Remove the twine around the trunk, remove the top third of the burlap and remove the top third (approximately) of the wire cage. The purpose of removing these materials is to prevent damage to the trunk and buttress roots as they grow over time. Removing the twine, burlap and wire cage is the subject of much debate amongst landscape contractors, tree producers, and arborists. In an effort to be brief, our recommendation to remove the top third of the wire cage, the exposed burlap (approximately the top third), and the twine is a balance between ensuring root ball stability/new tree survivability and planning for the long term health of the tree over the next hundred years. There may be some instances, like planting new evergreen trees in exposed/windy sites where it may be acceptable to leave the entire wire cage, burlap and twine intact for one full growing season before returning to remove it later.
8. Verify Tree’s PositioninG AND BEGIN BACKFILLING
Verify again that the tree is still positioned correctly. Mix a small amount of compost into the existing soil and begin backfilling the remaining portions of the hole with this mix. Lightly tamp the soil to remove air pockets but be careful not to overly compact soil as pore space is needed for water and oxygen.
Adding compost or a soil amendment to the existing soil is one way to attempt to improve soil structure and nutrient availability. Not every newly planted tree requires soil amendment. If you are planting in a native area where the soils have not been disturbed previously, you likely can backfill with just the existing soil that came from the planting site.
9. Mulch around the tree

Apply a 1-to-2 inch tall mulch ring around the trunk of the tree that extends out to the canopy drip line.
Mulch correctly around the tree. Once the tree has been planted with the trunk flare just above ground level, it is time to add one to two inches of mulch. It is important that mulch is not over applied or mounded around the main stem. It should be applied evenly around the main stem with a small berm on the outside edge that directs water toward the tree. I generally recommend pine bark or hardwood mulch although I’ve started using pine needle mulch around trees and shrubs that like a more acidic soil. Mulch does a great job of retaining moisture around newly planted trees in addition to reducing competition from weeds, regulating soil temperatures, reducing soil compaction and adding nutrients to the soil. Linked below is my fellow coworker Lindsey Rice’s Arbor Ed article on how to mulch around a tree.
10. Water YOUR TREE
Watering a newly planted tree correctly is as important as selecting the right tree. Watering is the single most important maintenance factor in the establishment and success of planting a new tree. The best way to water a tree is slowly and deeply so that water is trickling down into the root ball of the tree and not washing away into the lawn. A newly planted balled-and-burlapped tree should be watered at the time of planting and then once a week until temperatures are consistently below freezing. Watering in this same fashion should resume when the tree breaks dormancy and leafs out the following Spring. It generally takes 2 - 3 growing seasons before a balled-and-burlapped tree is established and can fend for its own water. Establishment could take longer with larger trees. For more information on watering, see my previous Arbor Ed article and video on how to water a tree linked down below.
11. Protect YOUR TRee!

Ginkgo biloba with deer protection. ©Russell Tree Experts
Protect your tree from mechanical damage. This step may not be necessary for every newly planted tree. If you live in an urban area without deer and have large generous planting beds free of turf, you can likely skip this step. When planting in rural areas, I often recommend using some sort of deer protection to protect the trunk of trees until they have surpassed eight to ten inches in diameter. I like to use a 4 foot tall wire fencing cut into a 7 - 8 foot length and then wrapped around the tree. In addition to protecting the trunk, the fencing also makes it more difficult for deer to feed on lower limbs. Trunk guards or corrugated drain pipe can also work to protect tree trunks, but they must be removed before the heat and humidity of the summer. I also recommend trunk protection for folks that have trees in areas where turf is tightly managed with large and fast moving mowers and string trimmers.
12. ENJOY!
Your new tree is now planted! Enjoy it! If there are any tags on the tree, you can remove them now if you have not done so already. I hope you enjoyed this article and the video below. Please reach out if you have any questions, happy planting!
Check Out These Related Arbor Ed Articles!


Sincerely,

TJ Nagel I Scheduling Production Manager, Russell Tree Experts
TJ loves trees. He is an avid gardener and plant collector. TJ graduated from The Ohio State University with a B.S. in Agriculture with a major in Landscape Horticulture and minor in Entomology. TJ is an ISA Board Certified Master Arborist and well versed in Plant Pathology. TJ joined Russell Tree Experts in 2012.