By Joe Gabrielse
December 19, 2024
Are you about to start digging in your yard for a project such as to plant a tree or to grind out a tree stump? Before you begin, it's vital to prioritize safety by taking the necessary precautions to protect yourself and underground utility lines. One key step you should never overlook is calling the Ohio Utilities Protection Service, commonly known as OUPS.

An example of a gas line marked in yellow.
811 is the national hotline for "Call Before You Dig," allowing homeowners and professionals to request free marking of underground utility lines. By calling 811 prior to digging, you can prevent accidental damage to vital utility lines like gas, electric, water, sewage, and telecommunications. Examples of digging projects where you can benefit from calling OUPS are planting a tree, grinding a stump, digging a new flower bed, putting in a new shed, laying a new driveway, installing a post for a new mailbox, building a retaining wall, and more. If you are utilizing Russell Tree Experts to care for your trees and digging is required such as in the case of stump grinding, we will take care of this process for you and call OUPS ahead of time!
Upon dialing 811, you will be connected to a local center. A representative will gather details about your digging project, such as location and depth of excavation. The center will then inform relevant utility companies who will then dispatch technicians to mark their underground lines with flags, paint, or both. In some cases, you will also receive an email with a summary containing a birds-eye view of the property with color coded markers as to where any lines may be located.
Advantages of Contacting 811 Before Digging

The blue oval indicates the location of a gas line that we need to be extra precautious around.
There are numerous benefits to calling 811 before digging, such as the following:
Compliance with Regulations. Many states mandate calling 811 to prevent harm to underground infrastructure.
Peace of Mind. Taking necessary safety precautions can provide peace of mind throughout your digging project and minimize the chances of stress and headaches.
Financial Savings. Preventing damage to utility lines can save you from costly repair expenses.
Enhanced Safety. Marking utility lines helps prevent potentially hazardous incidents.
Depending on the particular tree, a stump could be ground anywhere from approximately 4 to 16 inches below ground level.
Proceeding with digging without calling 811 can lead to severe outcomes. Accidentally striking a buried utility line can disrupt your project and result in headaches, expensive repairs, injuries, or even fatalities. Avoiding these dangers is as straightforward as dialing 811 before you commence digging. It’s free!
One detail to be cautious of is that privately installed lines or pipes might not be reported to OUPS, therefore leading to those lines being left unmarked. It would be up to you to mark or be made aware of to prevent damage to said unmarked lines. Examples of unmarked lines could be an electrical line to an exterior light post, irrigation lines, and invisible dog fences.
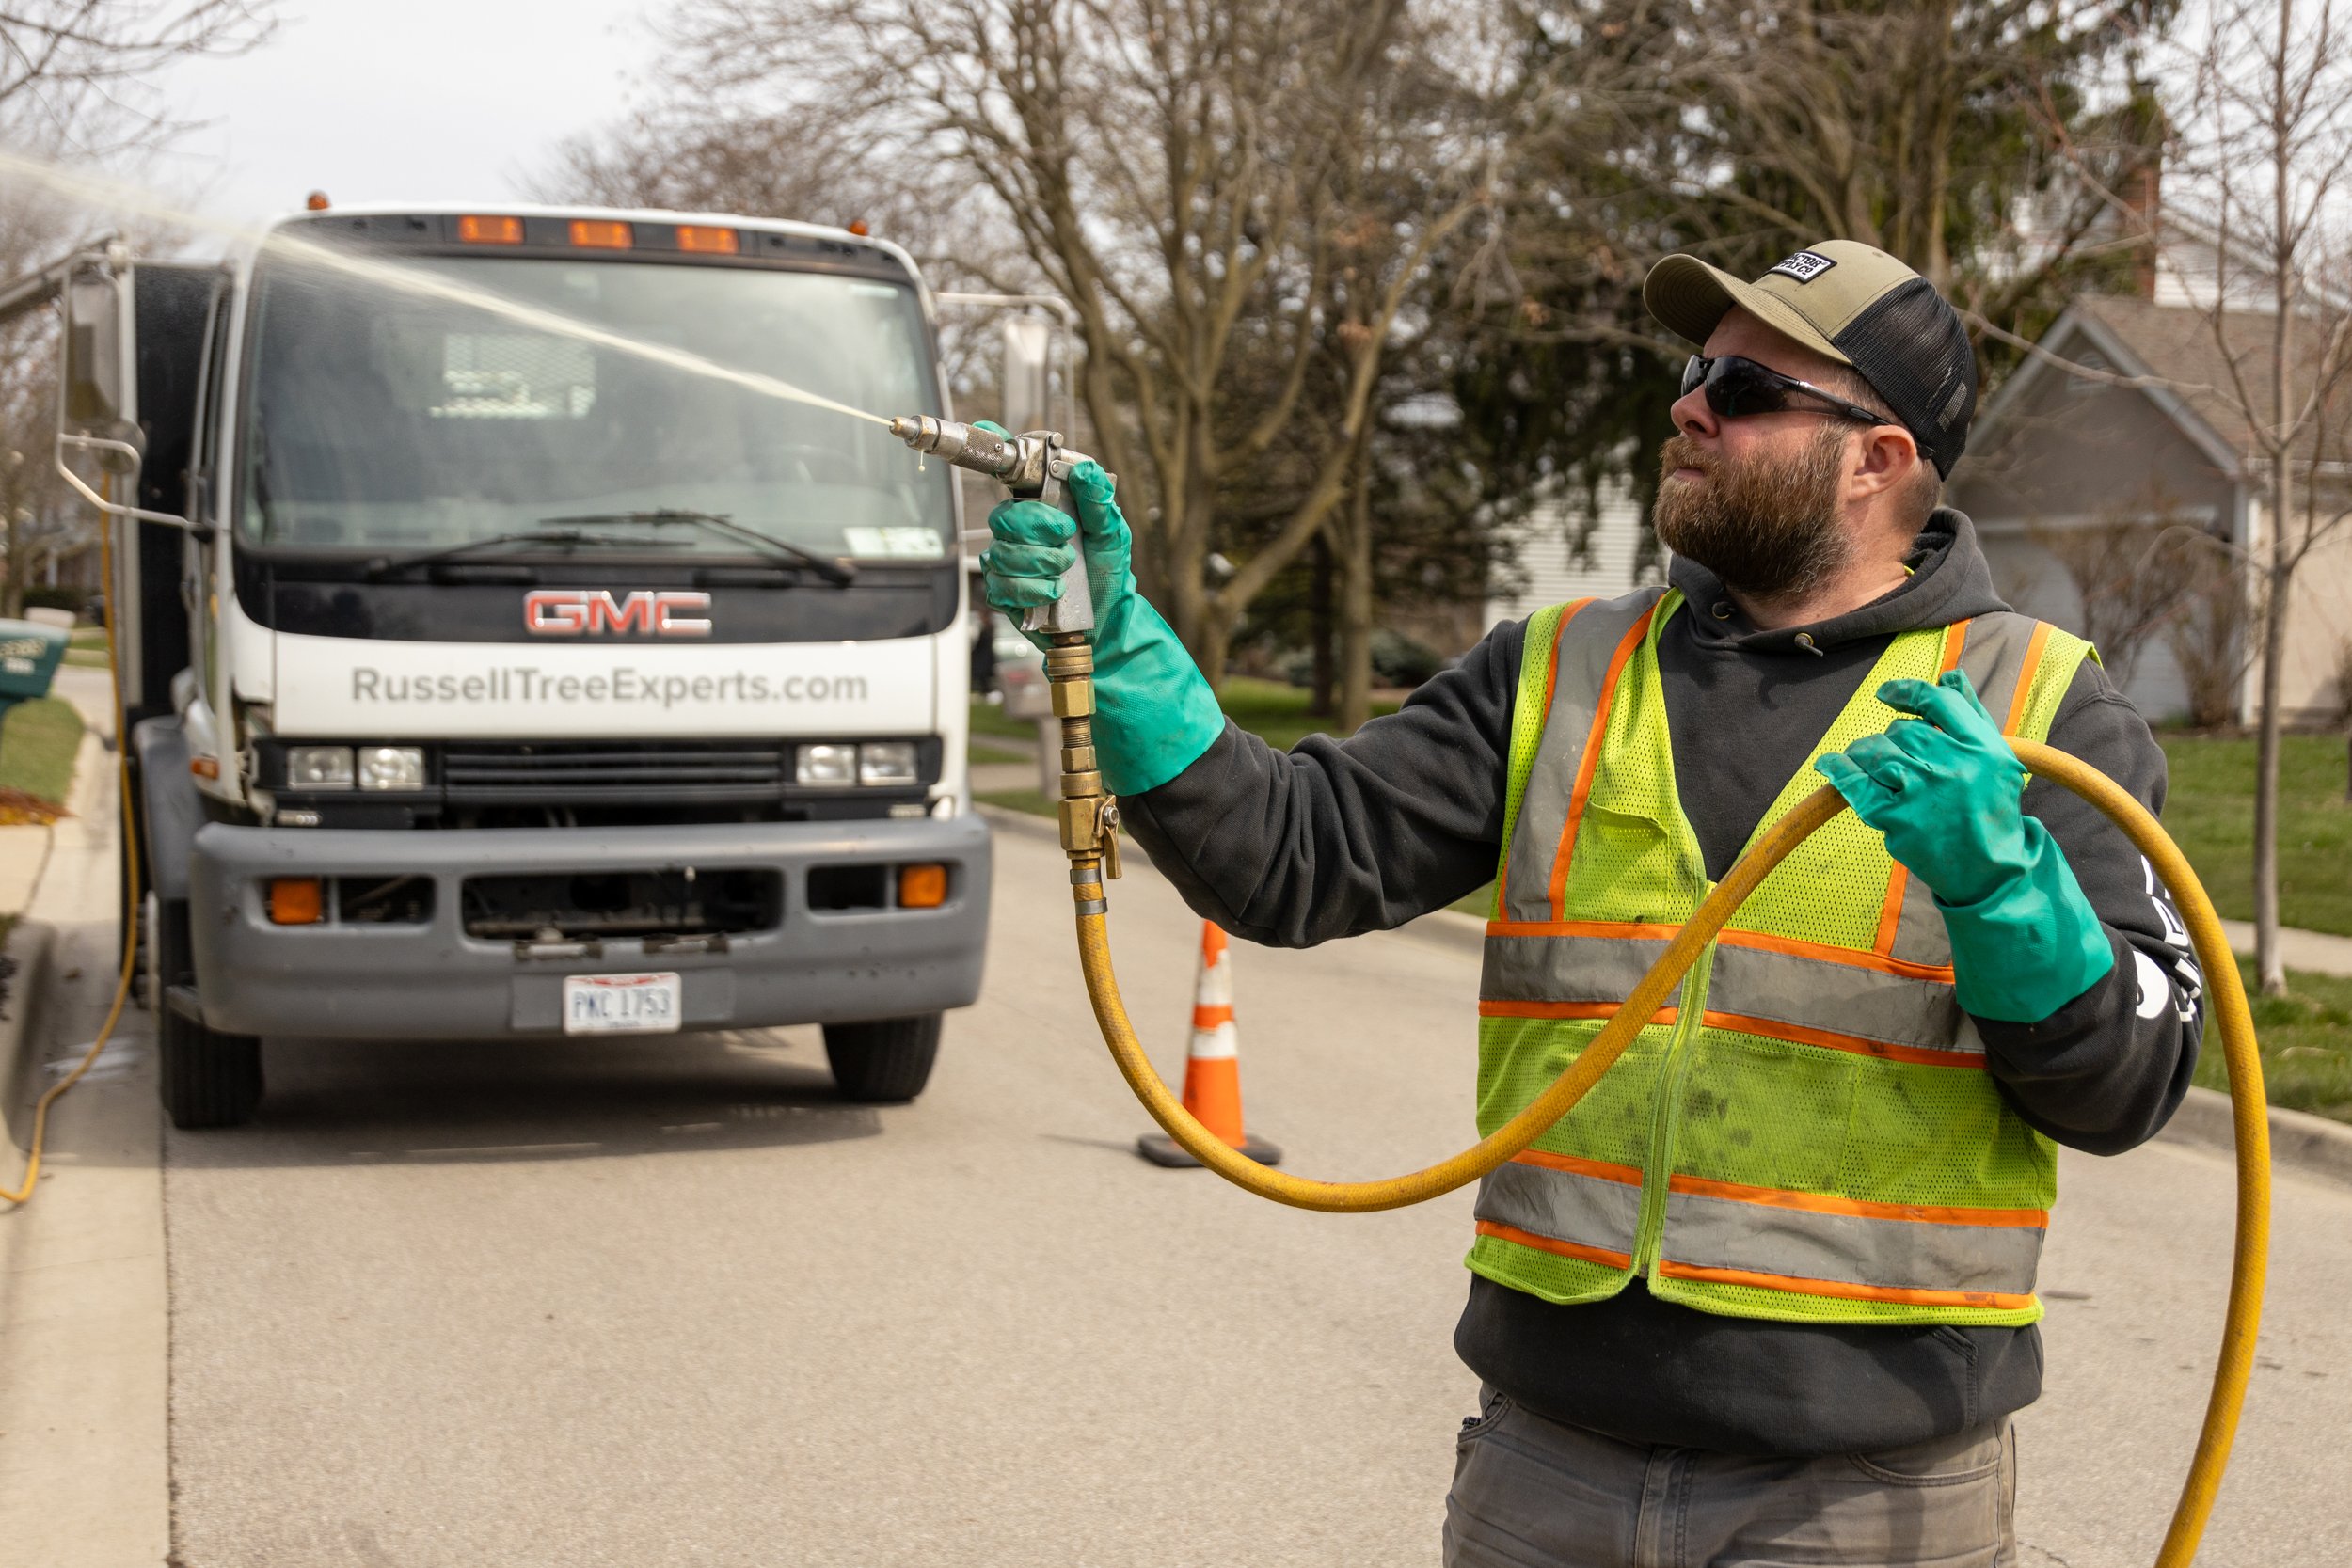
At Russell Tree Experts, we utilize OUPS quite literally every single day. Whenever a customer requests stump grinding services, our stump grinders call OUPS a few days ahead of time so that way our machines can focus on the stump and avoid damaging any lines.
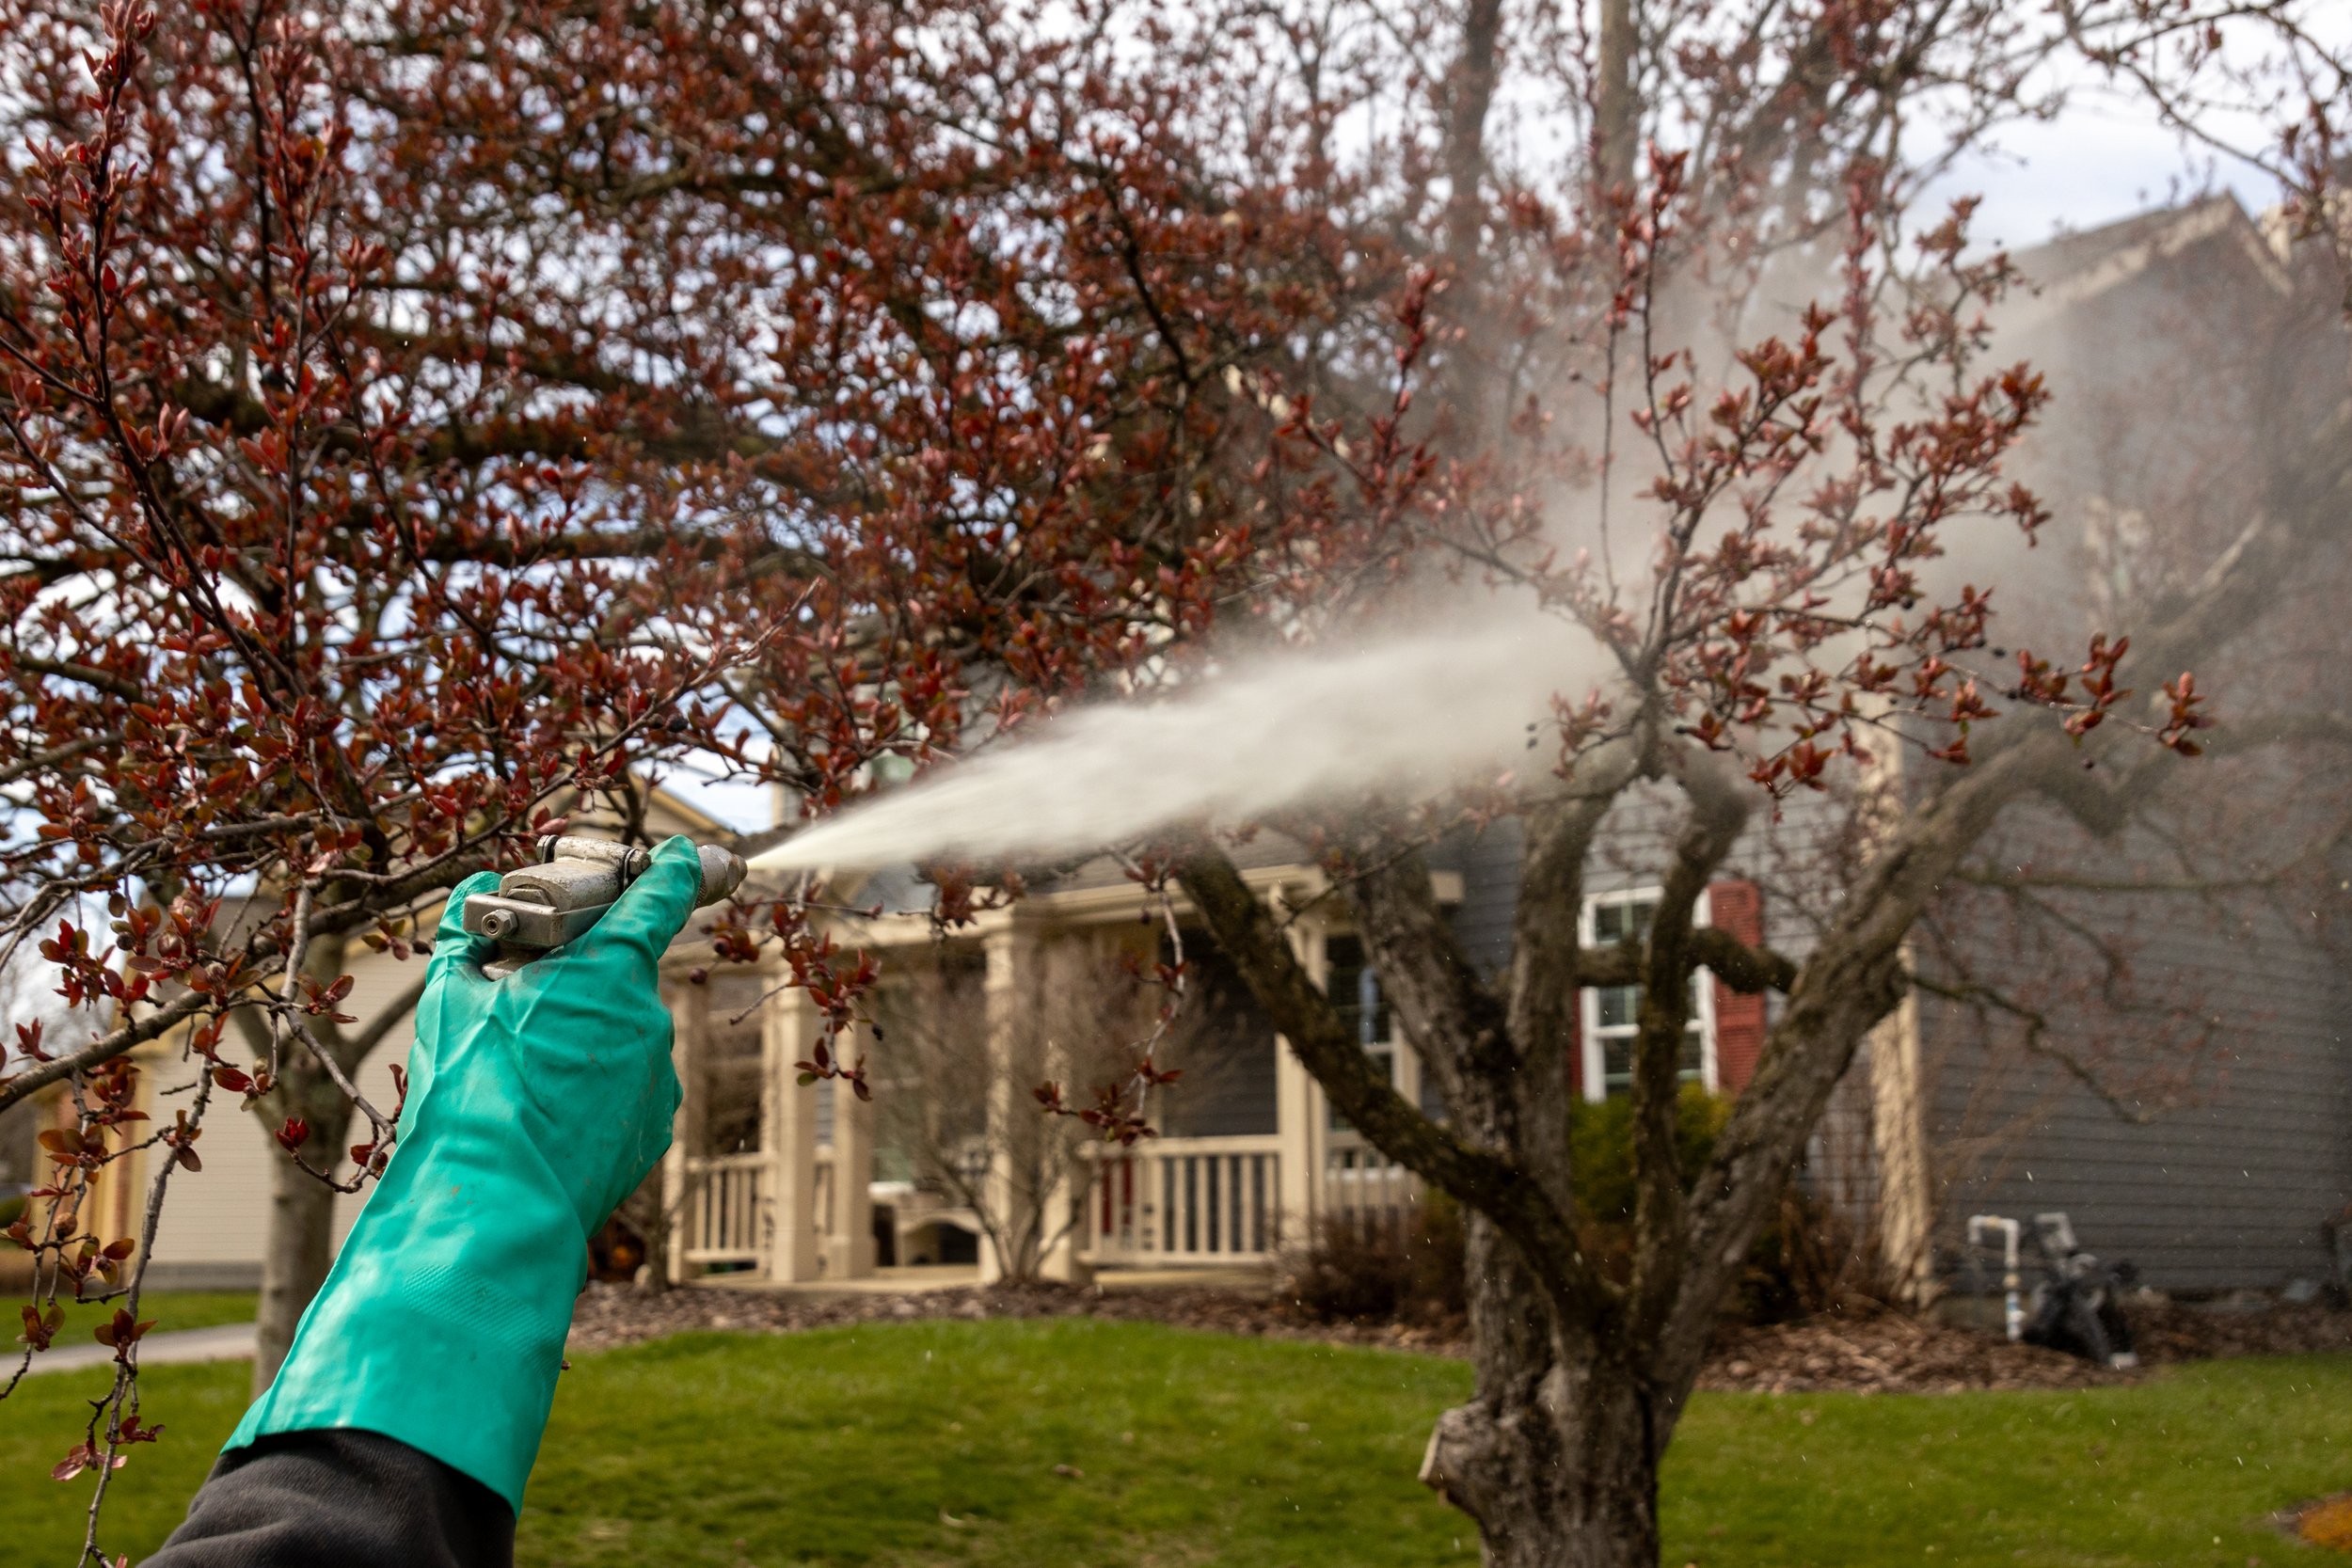
Russell Tree Experts offers stump grinding services. Before any stump is ground, we call OUPS to mark any nearby lines that could pose an issue.
For larger tree work projects such as on federal and state property or along highways and powerlines, we contact OUPS to request any and all lines to be marked. Whenever we are using heavier equipment such as CMIs, ASVs, or Bobcats, we are sometimes asked to provide specifications such as gross vehicle weight, track width, lengths of tracks on the ground, and distance between tracks to ensure that there is no risk of damage to underground lines even during movement of our machines. Some pipes and lines can be located 18 to 24 inches below ground level. With a machine that weighs 85,000 pounds, even just driving 2 feet above the line’s location could cause damage. If the pipe is unavoidable and a piece of equipment must cross its location, we build an “air bridge” using timber mats to cross the line safely and to eliminate the risk of damage. When a line is avoidable and no tree work or equipment needs to occur nearby, we still like to have the line marked and we will set a minimum approach distance such as 50 feet so that way our crew members know not to come anywhere close to the line’s location.
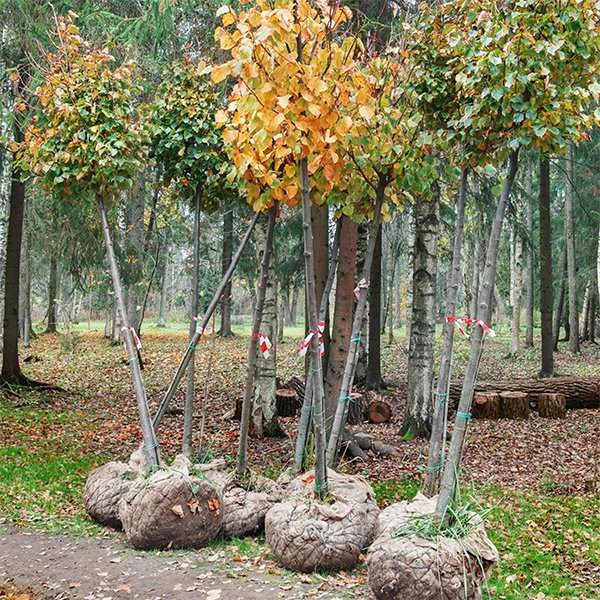
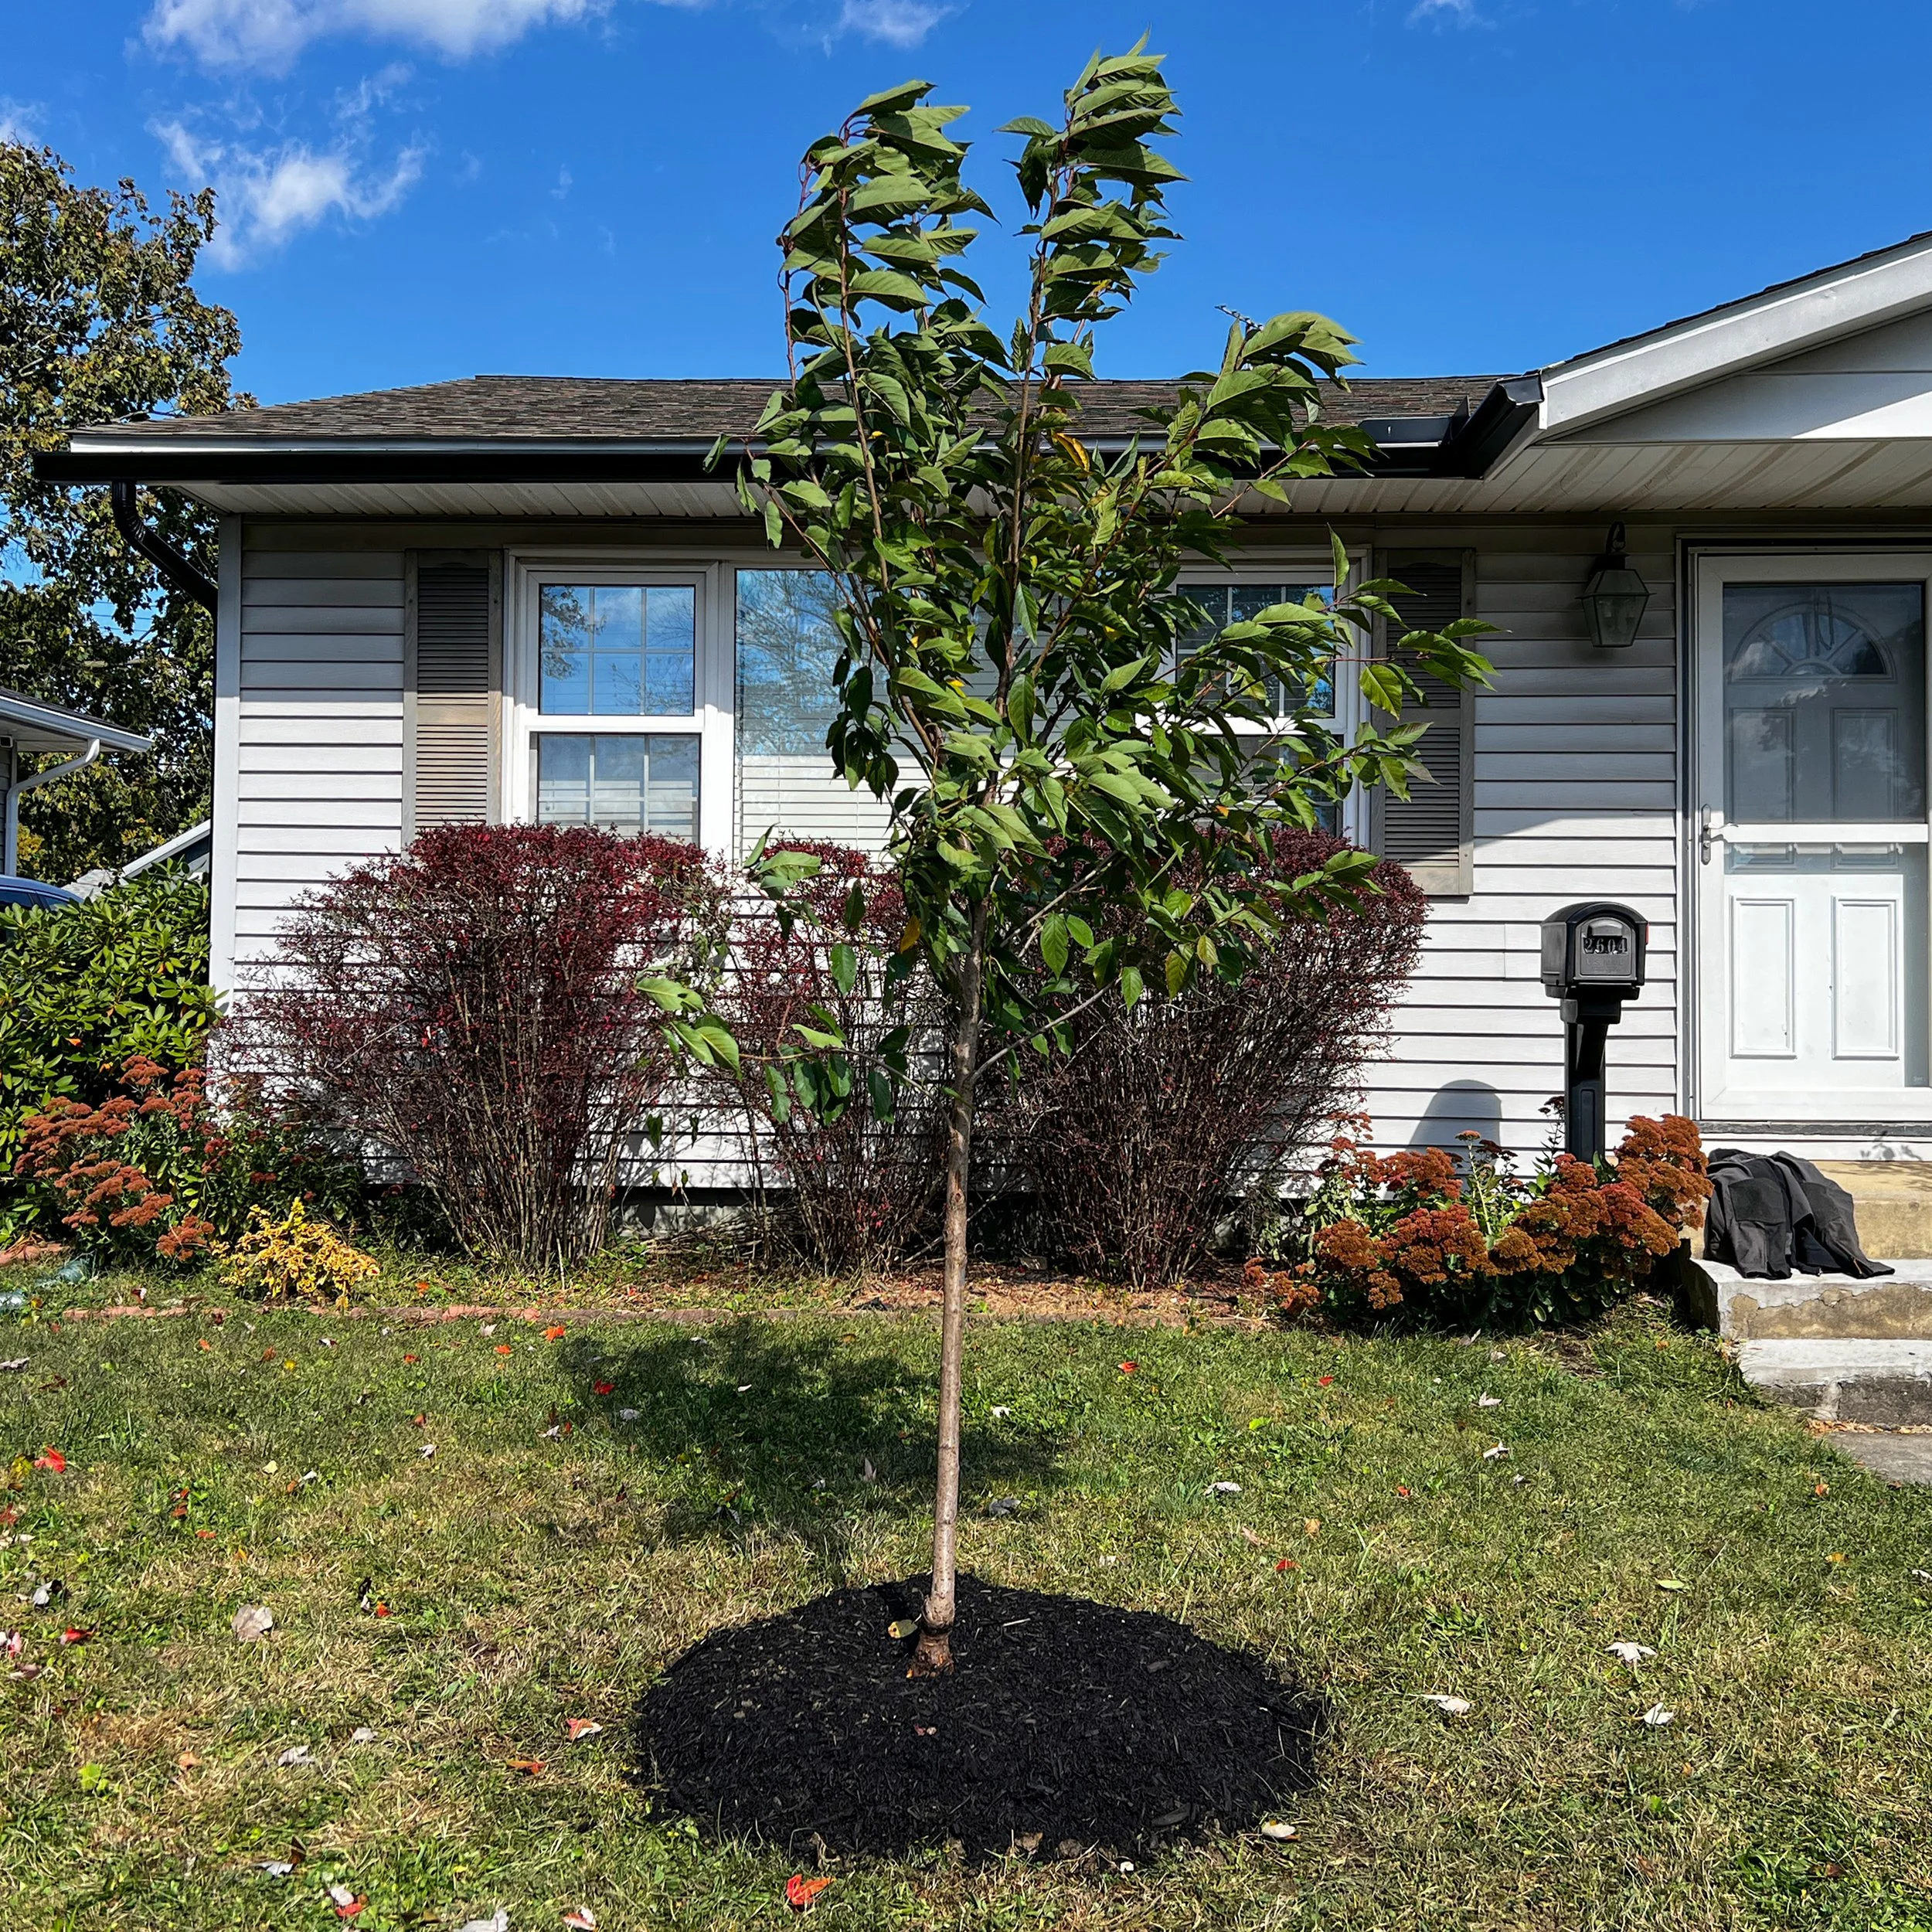
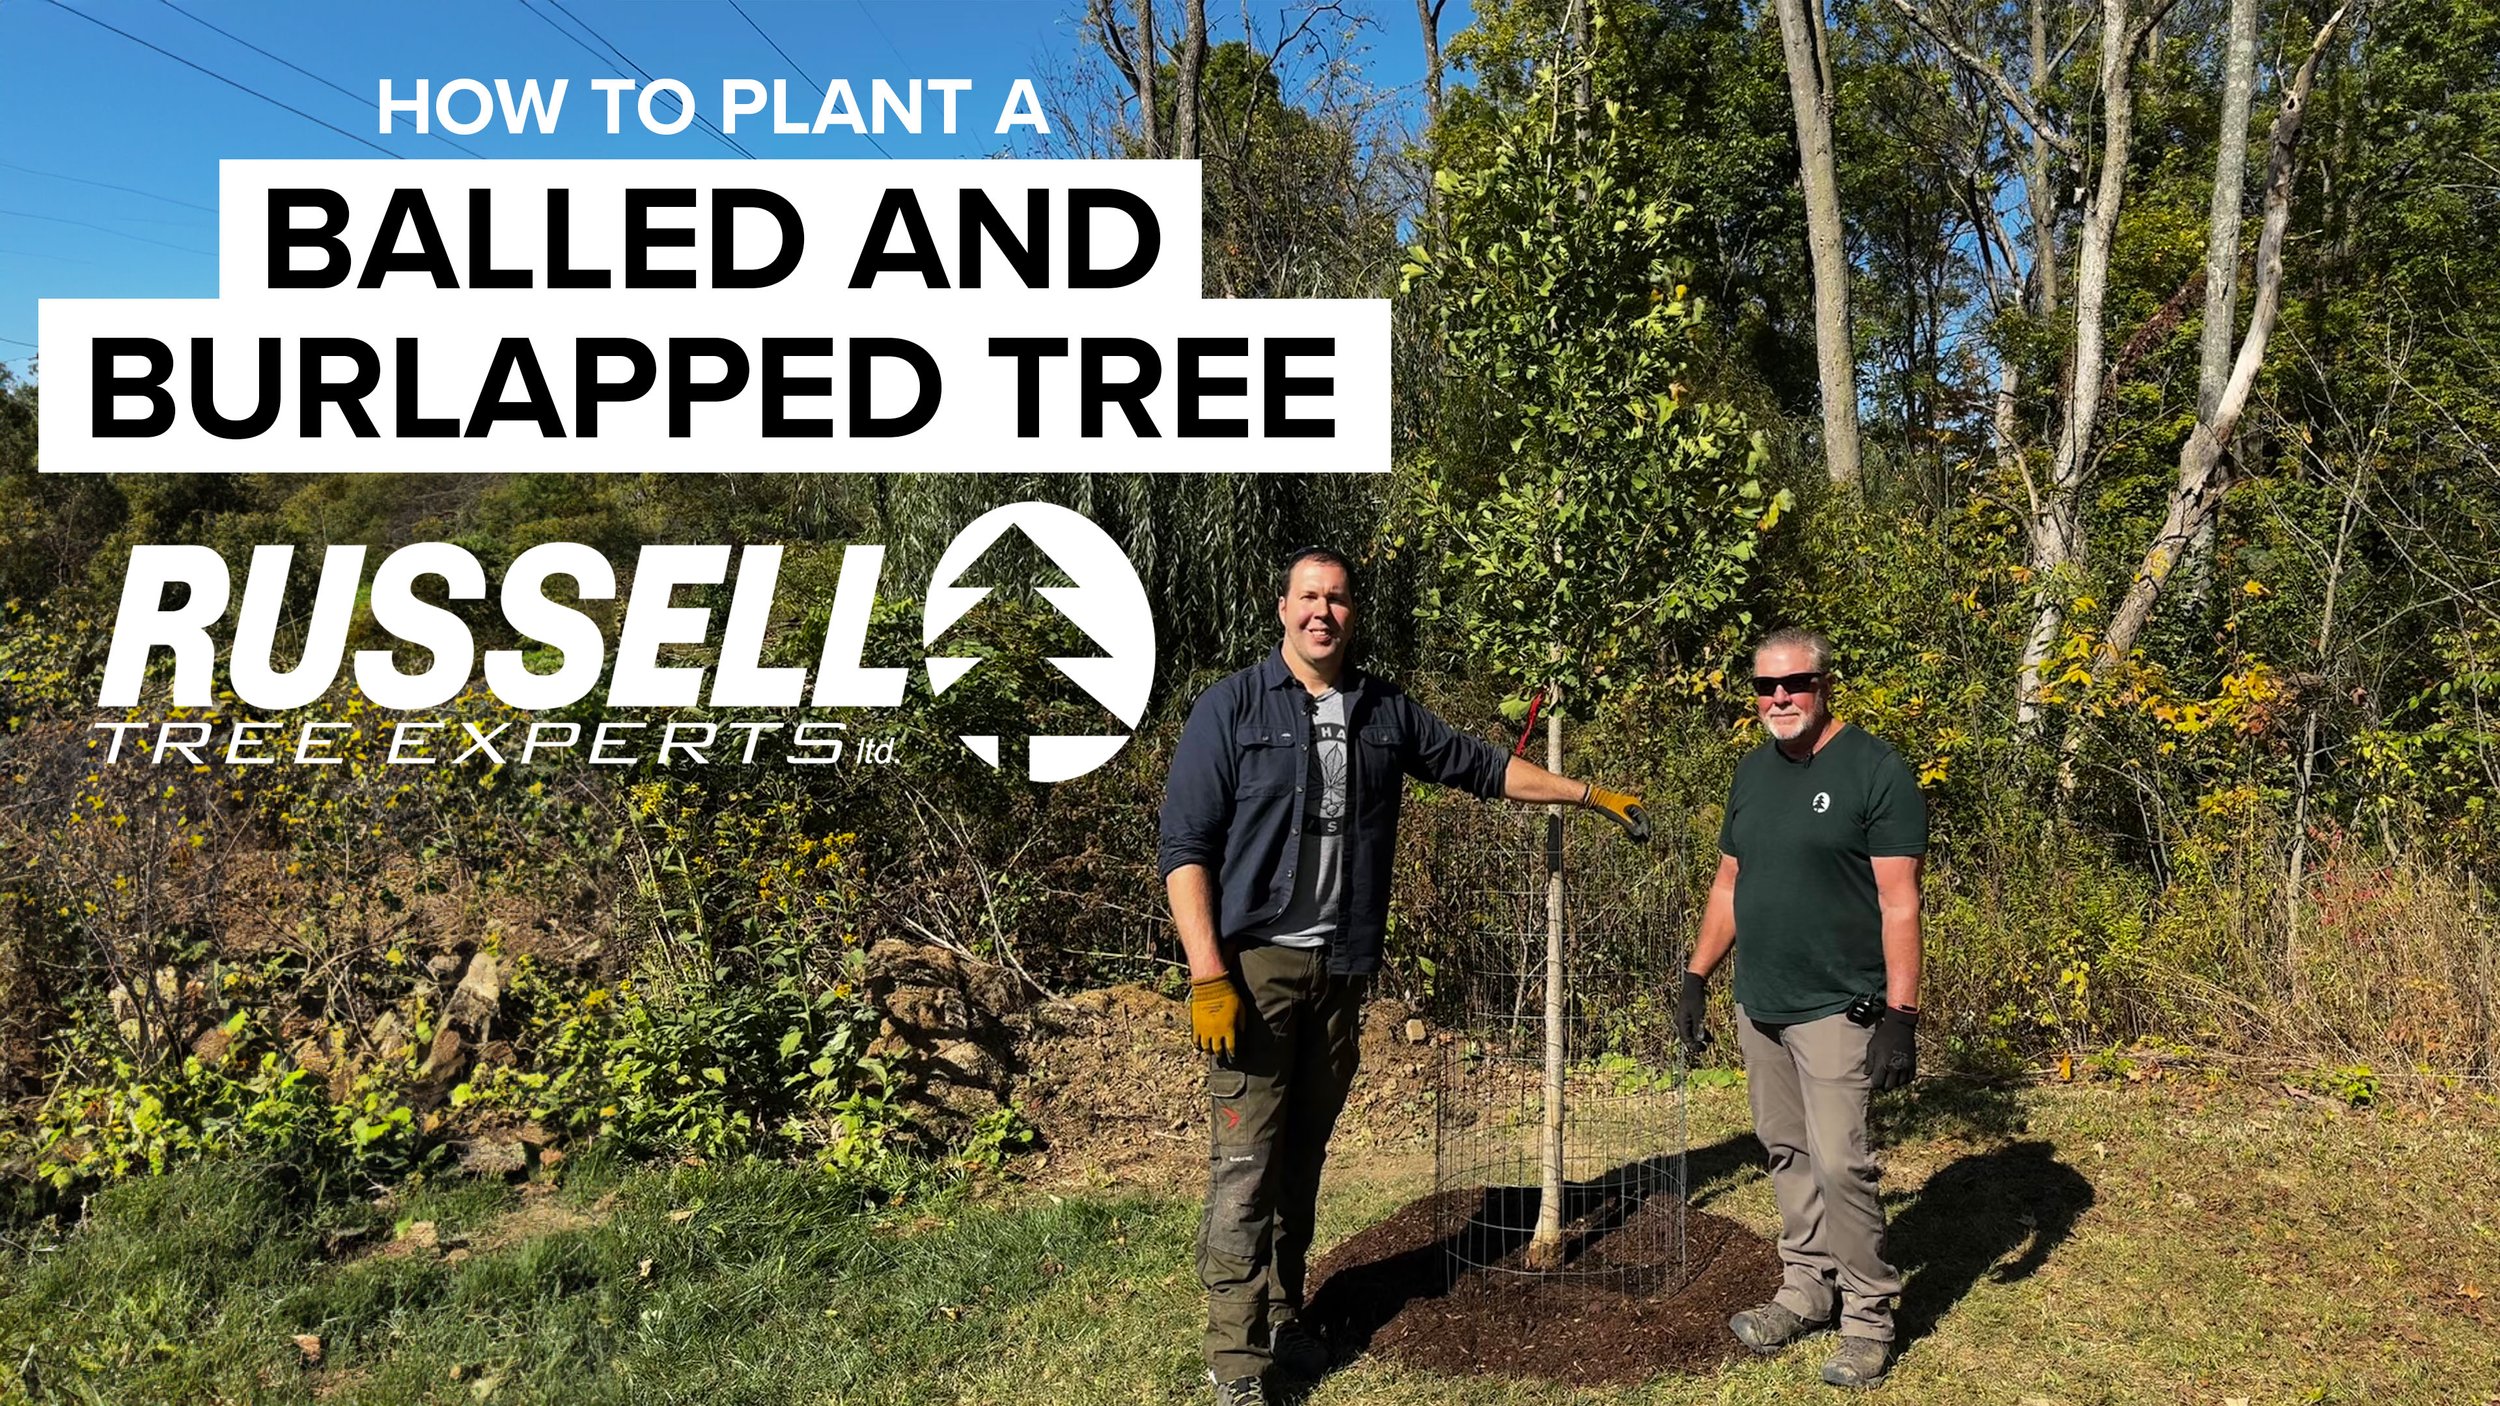
A balled-and-burlapped tree can require a lot of digging in order for it to be properly planted.
The examples above may not be relatable to you from day-to-day on your private property, but tree planting can! According to the Arborists’ Certification Study Guide, a saucer shaped planting hole two to three times the width of the root ball is recommended for optimal tree planting. The depth of said hole is going to be approximately the height of the root ball, which could be upwards of two to three feet tall for a large balled-and-burlapped tree. This area is definitely deep and wide enough to where the risk of damaging a line could be high. A simple and free 811 call to OUPS could provide you the peace of mind of planting your tree with no risk (not including privately unmarked lines)!
In conclusion, calling 811 before digging is a simple yet critical measure to ensure the safety of your excavation work. Making this call can help prevent accidents, legal complications, and unnecessary expenses. Remember that safety is paramount, so don't forget to contact 811 before picking up that shovel. Be safe and happy digging!
ADDITIONAL ARBOR ED ARTICLES!


Joe Gabrielse I Administrative Manager, Russell Tree Experts
Joe joined Russell Tree Experts in 2022 with a background in dispatching of commercial vehicles and project management. He enjoys spending time with friends and family, attending different sporting events, traveling, car shows, sports collectibles shows and video games.


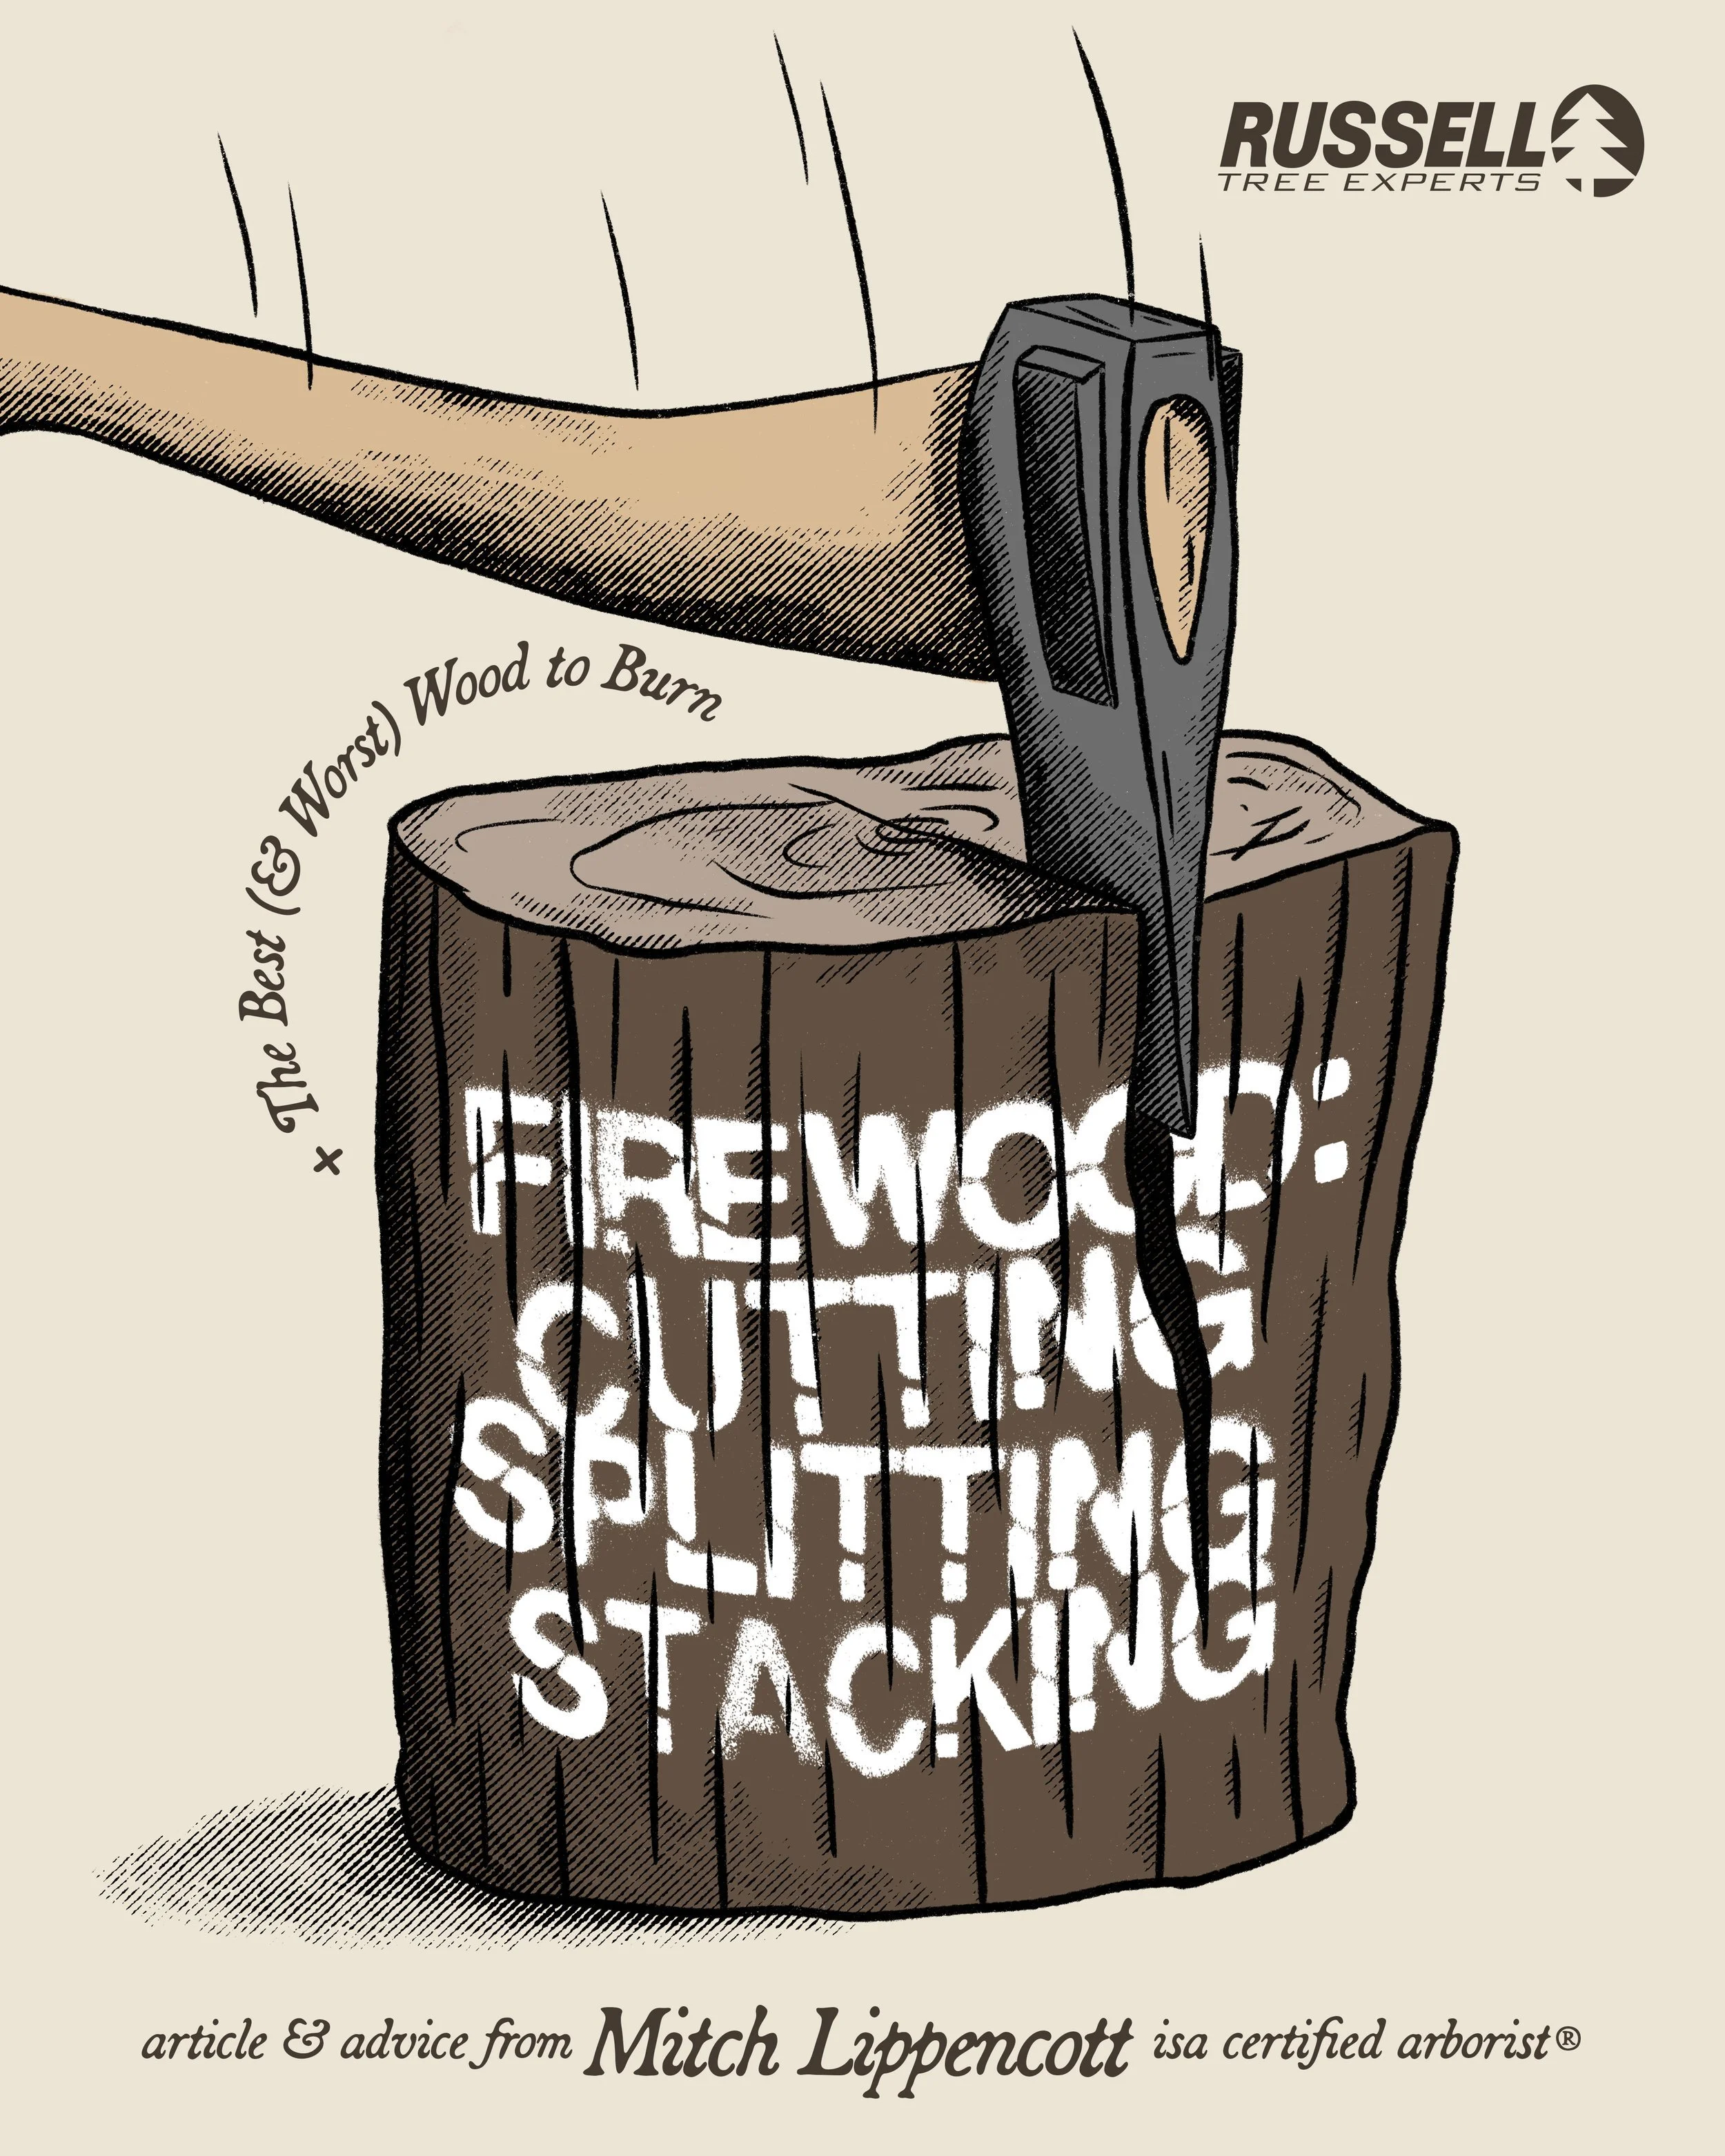
![[click to enlarge]](https://images.squarespace-cdn.com/content/v1/59dfb3df46c3c41919eac60a/1730388712047-BDGASOH18HRBDQVT9P1K/241031-firewood-BTUs-v2+copy.jpg)


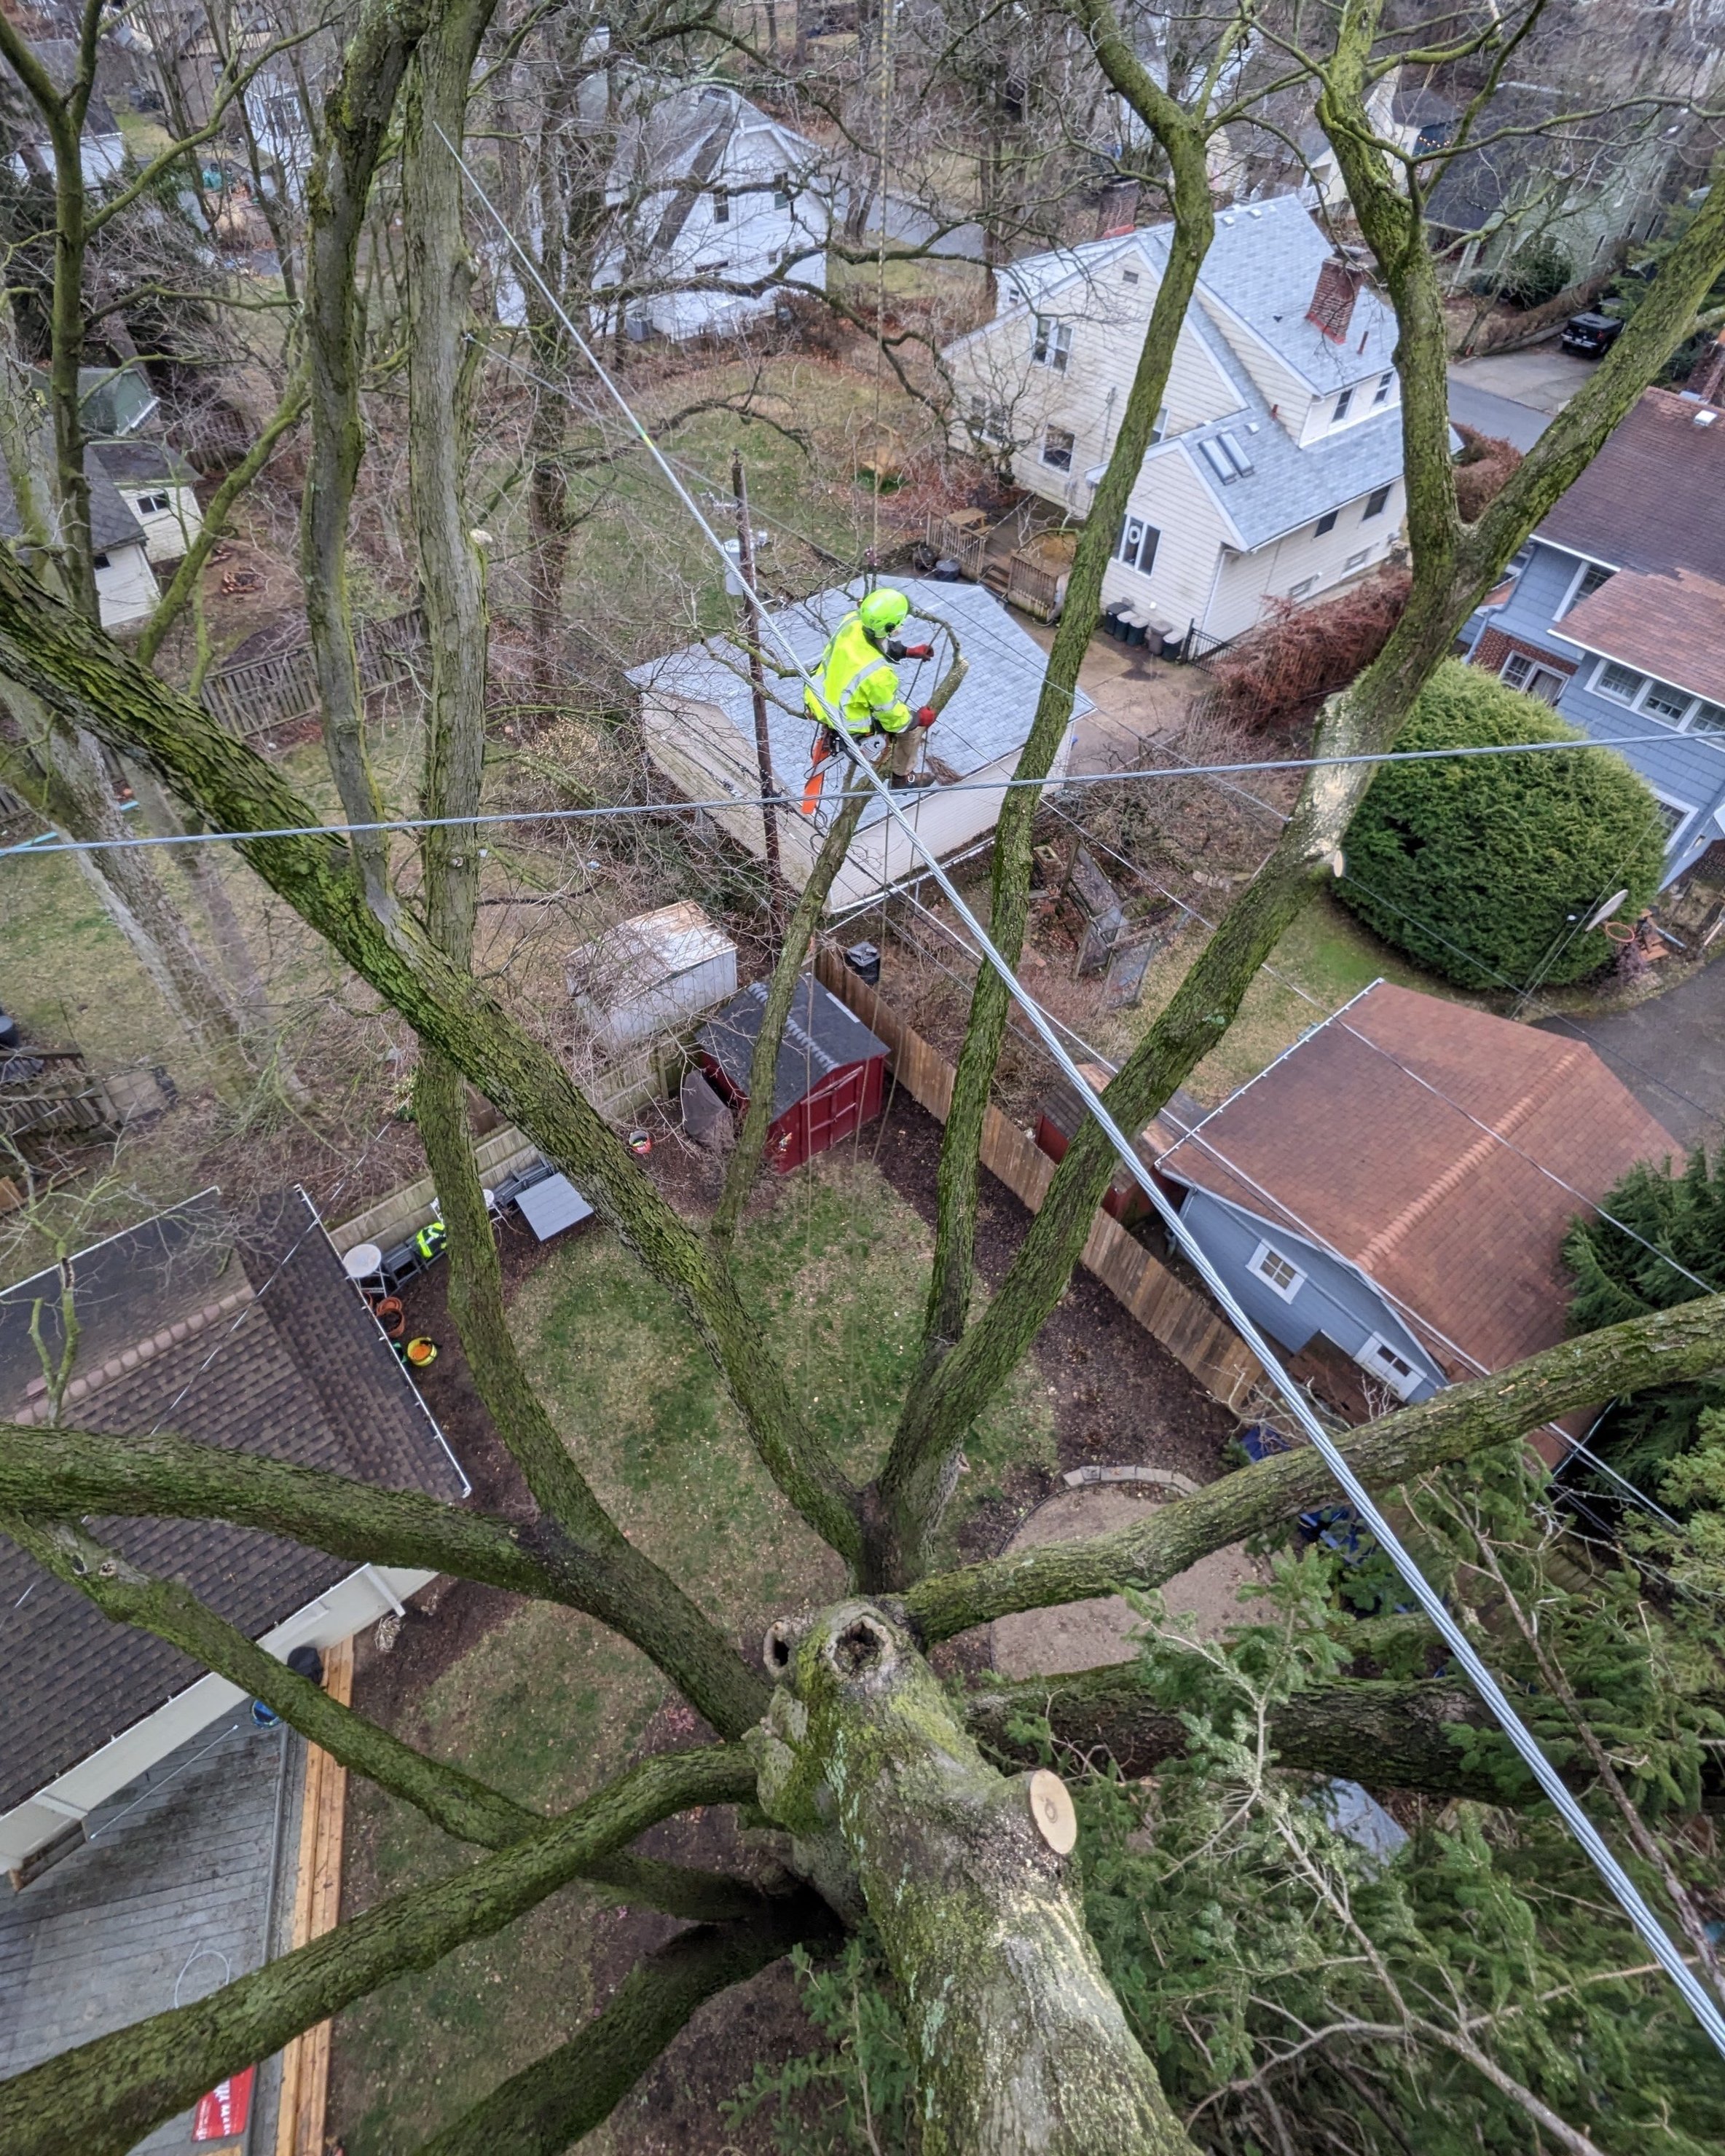
![[click to enlarge & more info]](https://images.squarespace-cdn.com/content/v1/59dfb3df46c3c41919eac60a/1730388864626-J8CIZWZAUEYUS2M6GJ9V/1000001341.jpg)
![[click to enlarge]](https://images.squarespace-cdn.com/content/v1/59dfb3df46c3c41919eac60a/1730388864148-3Y8O20UVDB3QPTQJU9CR/1000001340.jpg)