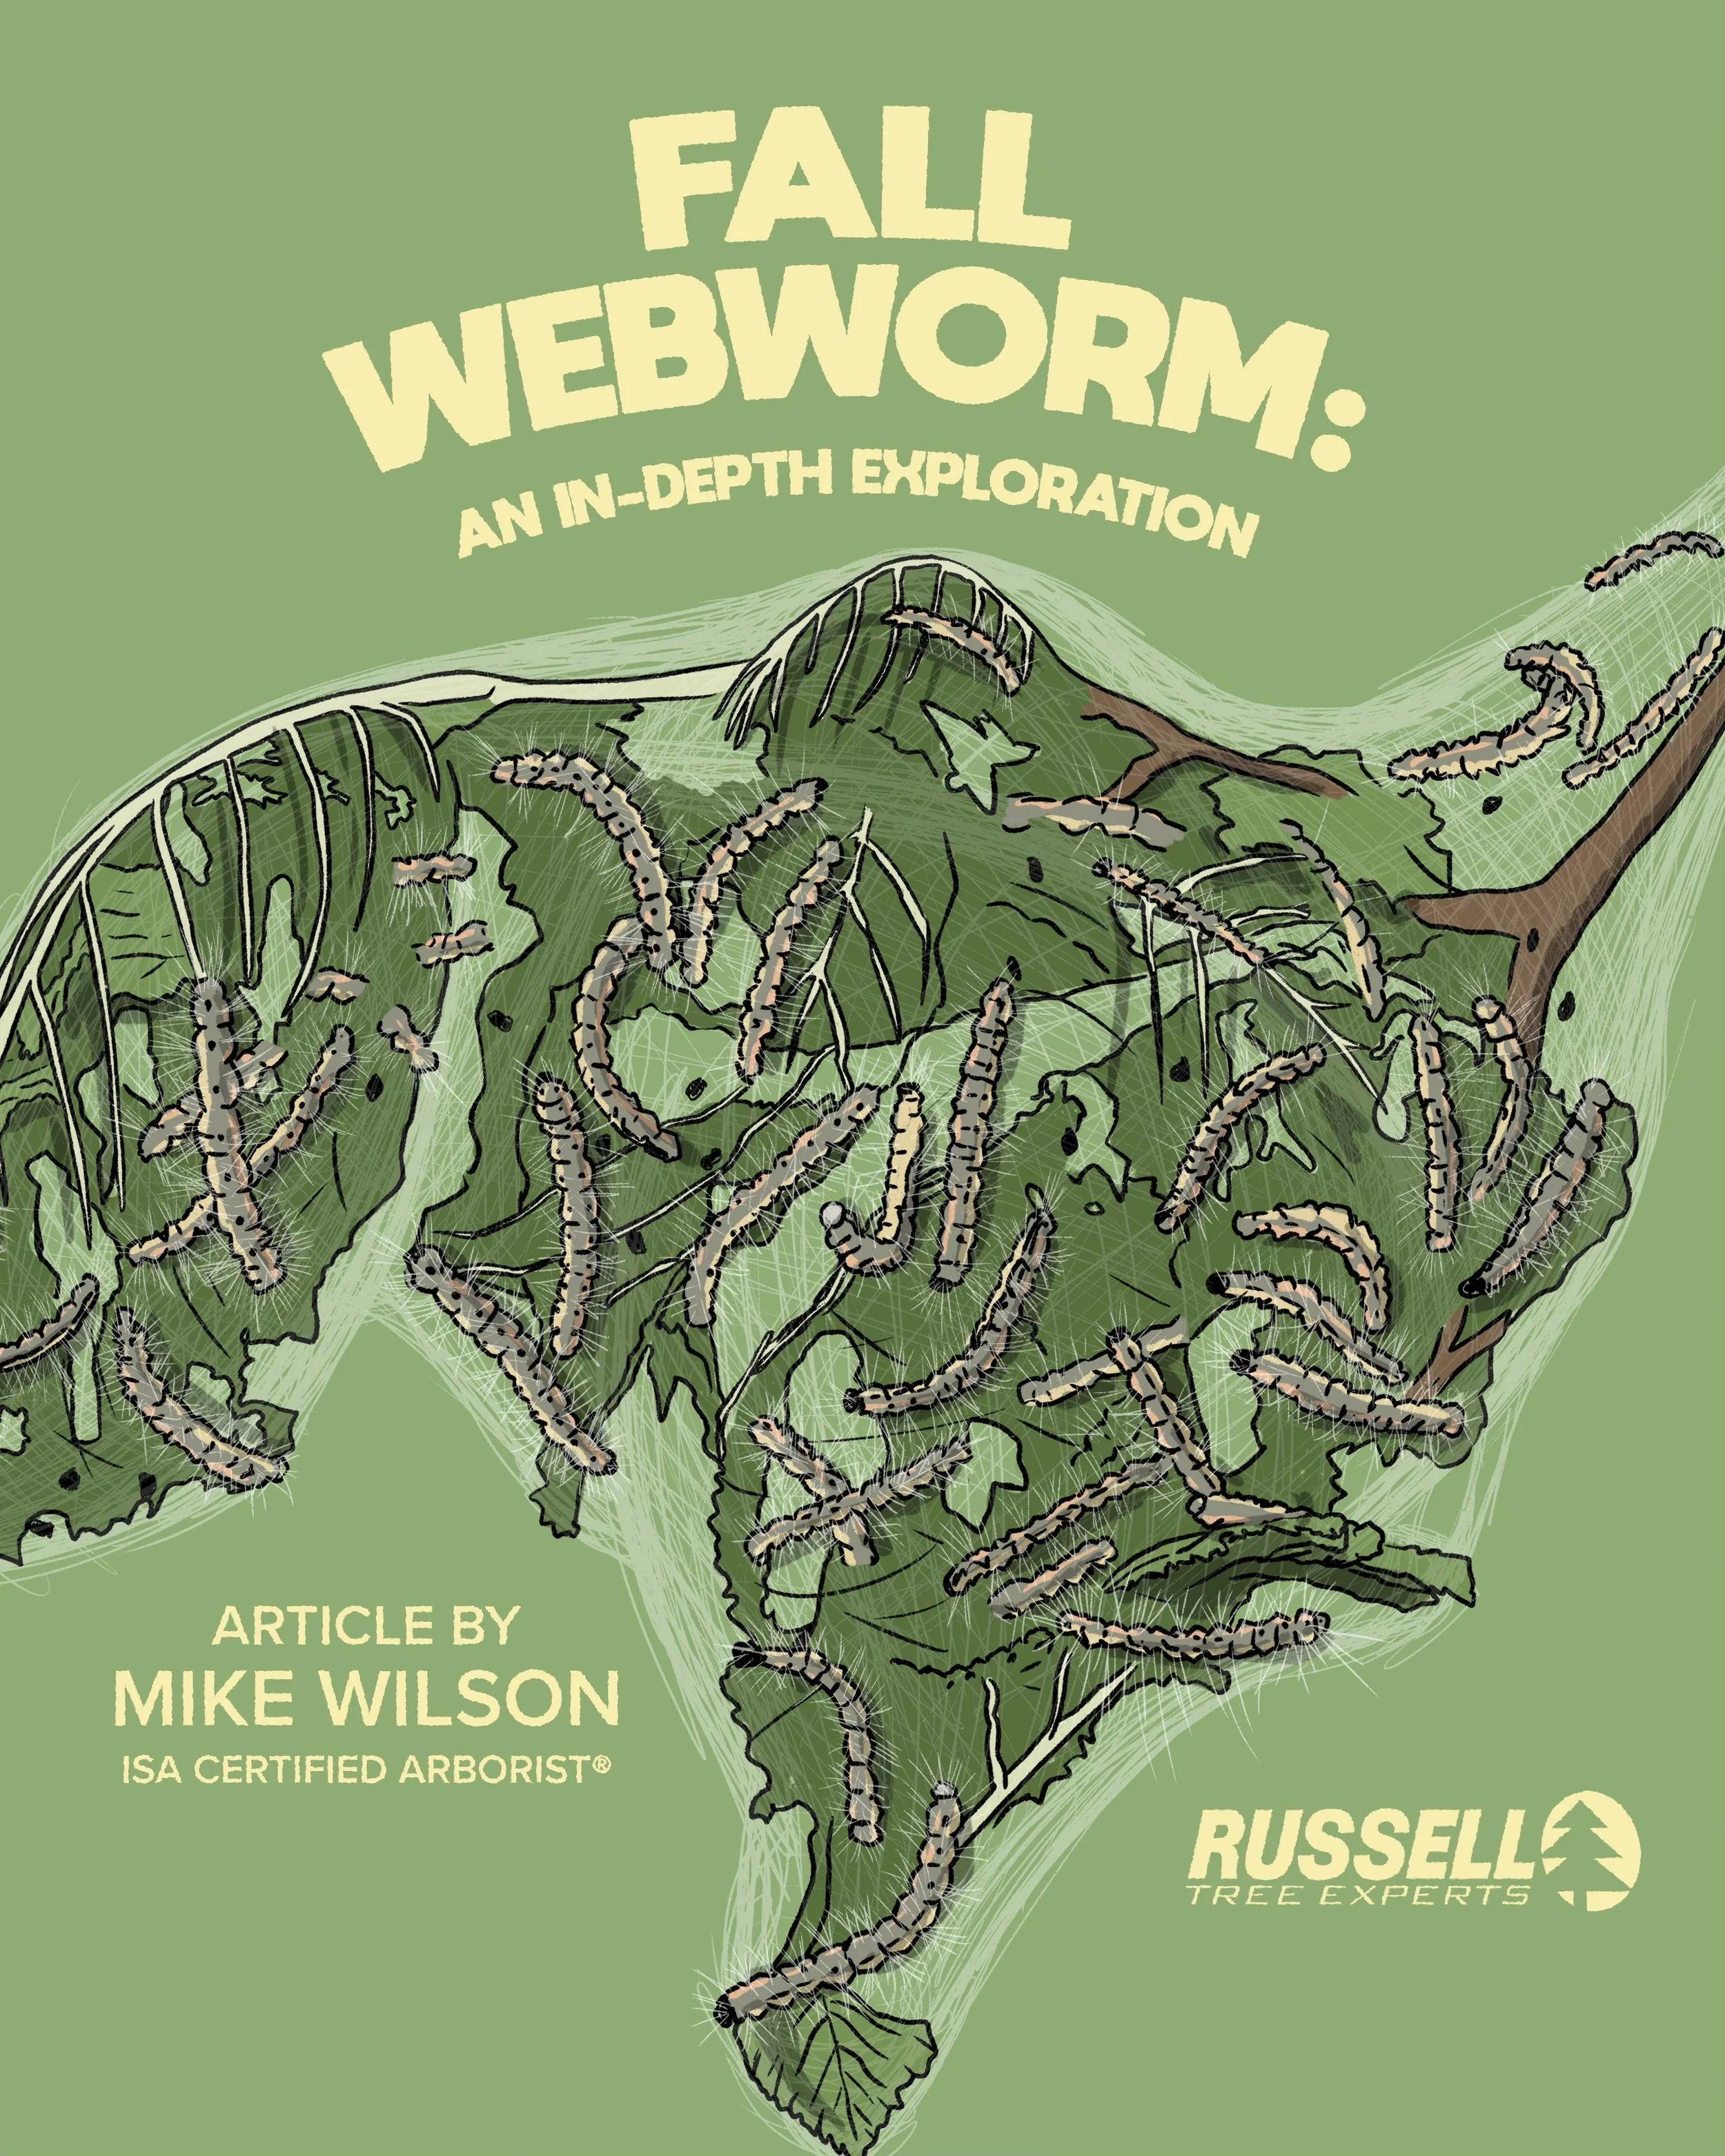
Dear Reader, My good friend and arborist colleague Cat Baumgartner wrote the below article for the Inniswood Garden Society’s quarterly member newsletter (known as The Image). As soon as I read it, I knew that I wanted to share it with all our readers. Cat does a thorough job of describing the most serious problems we have had with boxwood this year and she explains them well and in simple terms. She has generously agreed to let us republish it. Photos within the body of Cat’s article are courtesy of Joe Boggs, OSU extension educator for Hamilton County.- TJ Nagel, Russell Tree ExpertsThe Year of The
Ugly Boxwood
by cat Baumgartner, Oakland Nursery
I don’t have a simple answer. Or there are multiple answers, and your boxwood might have one, or several of the problems at once.
I’ll go over the likely suspects for this year- including winter damage, or ‘winter burn’, Boxwood Leafminer, Volutella Blight, and THE Boxwood Blight.
I’ll start with winter burn. Boxwood store a lot of their energy in their leaves through the winter. When we get extreme cold and wind in the winter, the leaves will lose more moisture. If the ground is frozen or dry (or worse, both), the leaves lose moisture faster than the roots can replace it, and we get the ‘burn’, where they turn a straw color and die, staying attached to the stem. It wasn’t noticeable until early spring, because evergreens have a delayed reaction to stress. It’s why we can cut down trees for Christmas and they don’t immediately turn brown, often lasting months. We did have greater than normal rainfall last year, but the three months leading up to late December were on the dry side. So, the ground was dry leading up to the extreme cold event that hit in late December creating a Double Whammy. There was a lot more winter burn this spring than I’ve seen in decades. It looks like straw-colored sections in the shrubs, often in a random pattern.

Photo courtesy of Joe Boggs, OSU extension educator for Hamilton County.
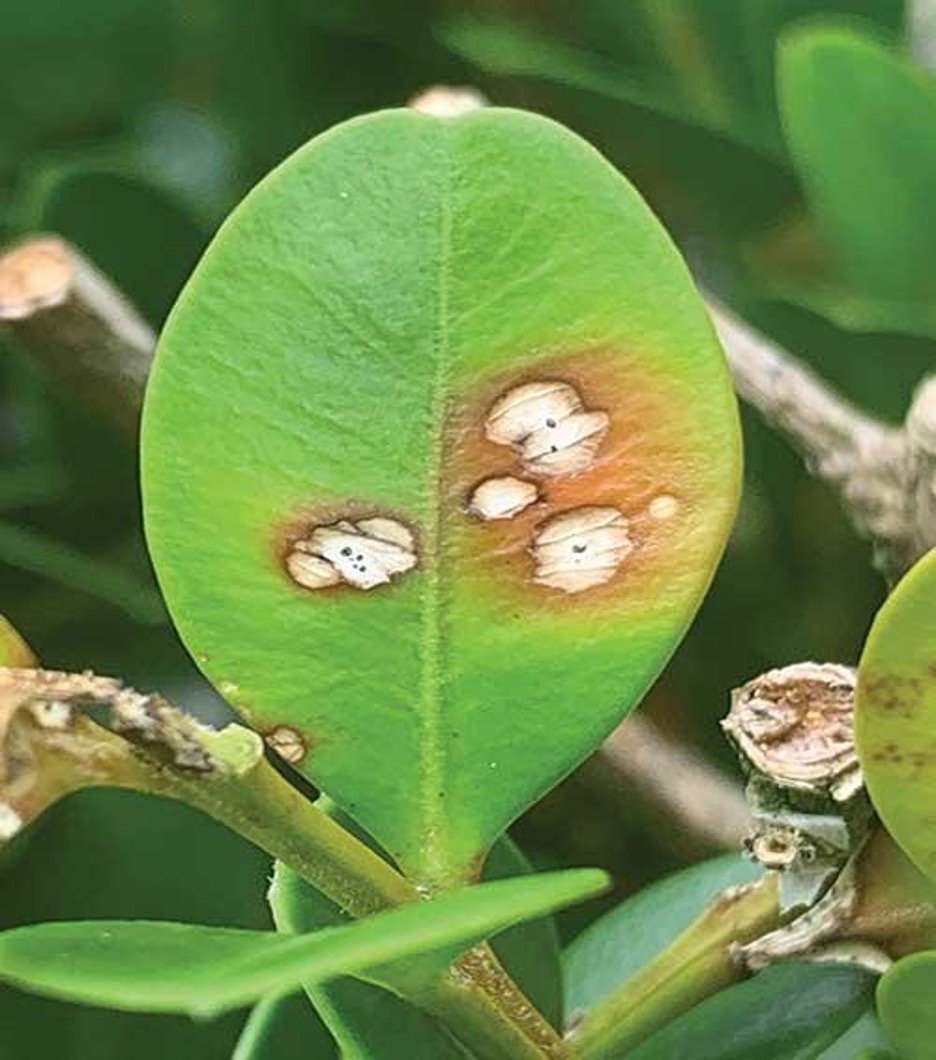
Next, there are different blights out there that can affect boxwood. ‘Blight’ is a general term for a plant disease, typically caused by a type of fungus. Most of them are less common and less damaging than the blight striking fear in the hearts of gardeners that is Calonectria pseudonaviculata, called simply “Boxwood Blight”. There have been some isolated cases in the Greater Columbus area. The main symptom though is defoliation. You’ll have green leaves, then they’ll start looking funny, and rapidly progress and fall off the stem. In a matter of weeks, you can go from a healthy-looking plant to one with sections with completely naked stems. Definitive identification requires lab testing. Other blights can show similar symptoms, but since some are more treatable, confirming which type of blight your boxwood might have is recommended before removing plants. If you do have “Boxwood Blight,” replanting with more boxwood is not recommended, so confirmation of what kind of blight you have will also tell you what you can plant in that spot. Most of the damage we’ve been seeing is NOT “Boxwood Blight.”

Photo courtesy of Joe Boggs, OSU extension educator for Hamilton County.
Volutella Blight or Pseudonectria Canker (Pseudonectria buxi) can be damaging but is not necessarily a death sentence often just affecting individual stems and not whole portions of the plant. Symptoms can be seen if the stem is sliced into, showing dark brown streaking just under the bark. Most twigs infected with Volutella blight will turn straw colored and die. In most cases dead stems from Volutella canker can be easily pruned out and the remaining portions of the boxwood will fill in slowly over time.
This year we also had frost damage in May. If leaf buds are still tight, frost is not a problem. If the new leaves have emerged, but have ‘hardened off’, it is also not a problem. But if the new growth is timed so that it is new, fresh and tender, and then we have a late freeze, the new growth is damaged, turns that sad straw color, and is aesthetically at least, a problem. A healthy shrub can put out another round of growth, and it is not a long-term problem. Trimming off the burnt new growth is all that needs doing.
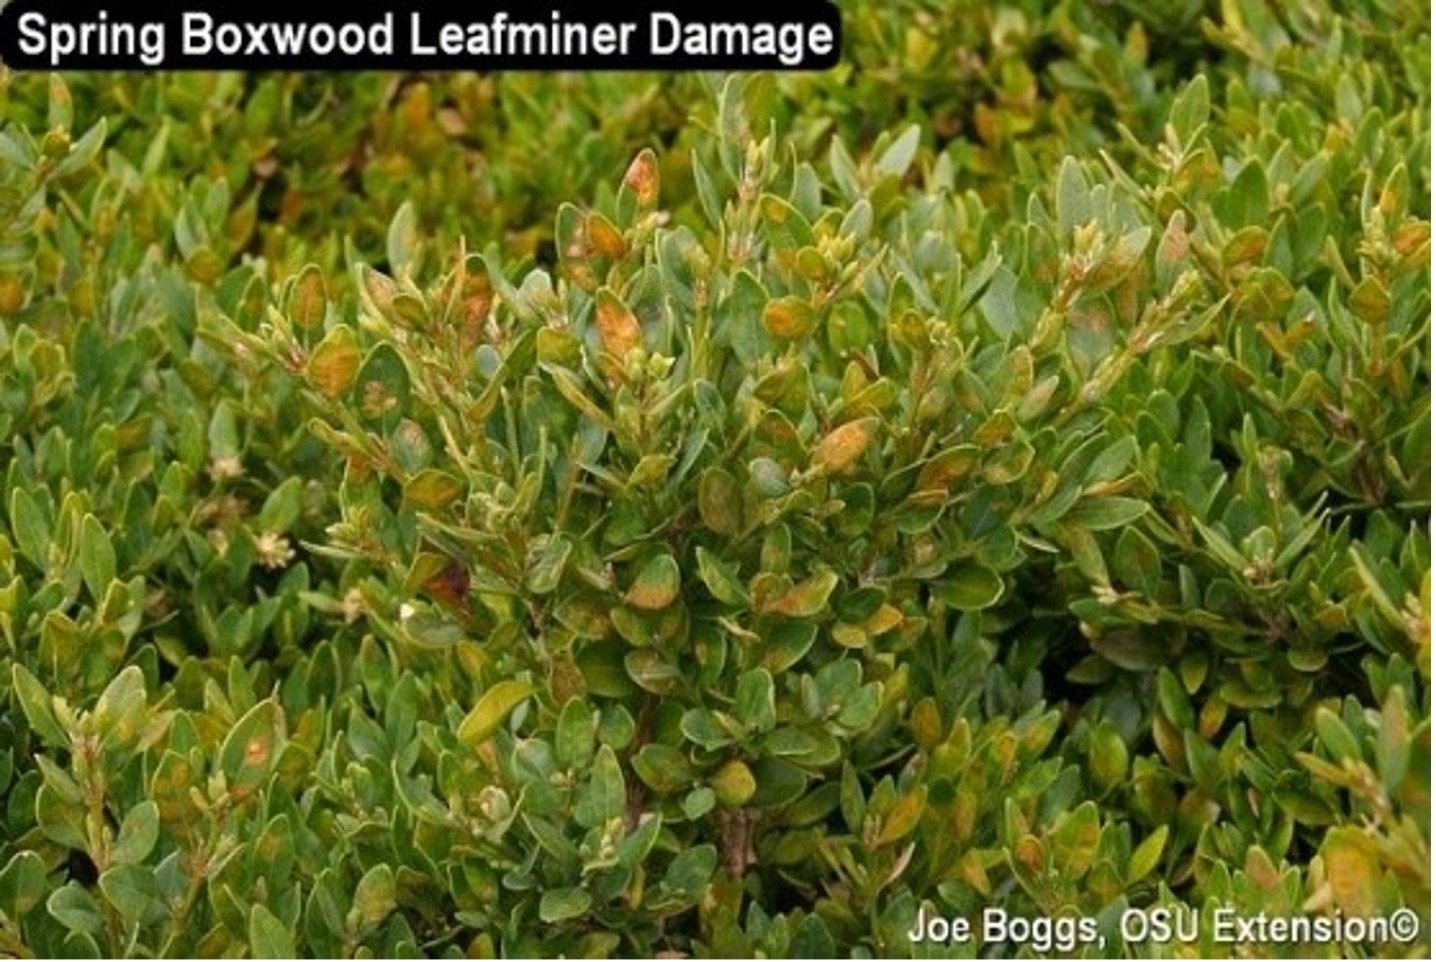
Photo courtesy of Joe Boggs, OSU extension educator for Hamilton County.
Boxwood Leafminer, an insect pest, is an ongoing problem. The damage from leaf miner is more generalized, an ‘all-over’ bad look rather than the chunky sections dying back. The adults lay eggs in the new growth in mid-spring, and as the larval stage hatches and begins to feed on the interior tissues, the leaves start looking bad, often having a blistered or bubbled effect, usually easier to see from the bottom of the leaf.
Preventative sprays can thwart adult leafminers from laying eggs in the new growth, but need to be applied as you see the new growth. Systemics applied in the Fall or Spring can also provide control but know that boxwoods are insect pollinated.
If you don’t have Boxwood blight, you have two options. Cut out the dead branches and let the plants regrow which may take three years or more to totally restore, in good condition, or replace the plants.
A Final Note…
Since Cat wrote her article, we have had several boxwood shrubs test positive for yet another disease, Colletotrichum theobromicola (also referred to as boxwood dieback). This is a new disease for central Ohio and symptoms look similar to other blight diseases with the random dieback of twigs and straw-colored foliage. However, in addition to twig dieback, the pathogen also causes leaf spots that appear white in the center surrounded by dark brown margins as well as a bright black discoloration just beneath the bark along the twigs. The jury is still out on the best way to attempt to manage this disease but for now, good cultural practices such as removing symptomatic plants and sterilizing pruning tools between pruning different plants are the best-known strategies. Fungicides might also be helpful, but efficacy has not been determined. Laboratory testing should be used to confirm boxwood dieback because it can easily be misdiagnosed as other blight diseases.

As we continue to have more problems in the landscape with boxwood, it may be time to consider alternative plants that can achieve a similar function. Stay tuned for my boxwood replacement article later this Fall.
Sincerely,

TJ Nagel I Scheduling Production Manager, Russell Tree Experts
TJ loves trees. He is an avid gardener and plant collector. TJ graduated from The Ohio State University with a B.S. in Agriculture with a major in Landscape Horticulture and minor in Entomology. TJ is an ISA Board Certified Master Arborist and well versed in Plant Pathology. TJ joined Russell Tree Experts in 2012.